Documentation
QuickPass: Quickpass Kiosk App Addon
Thank you so much for purchasing our item from codecanyon.
- Version: 1.9
- Author: iNiLabs
- Created: 25 October, 2022
- Updated: 13 May 2025
If you have any questions that are beyond the scope of this help file, Please feel free to email via Item Support Page.
APK Environment Setup
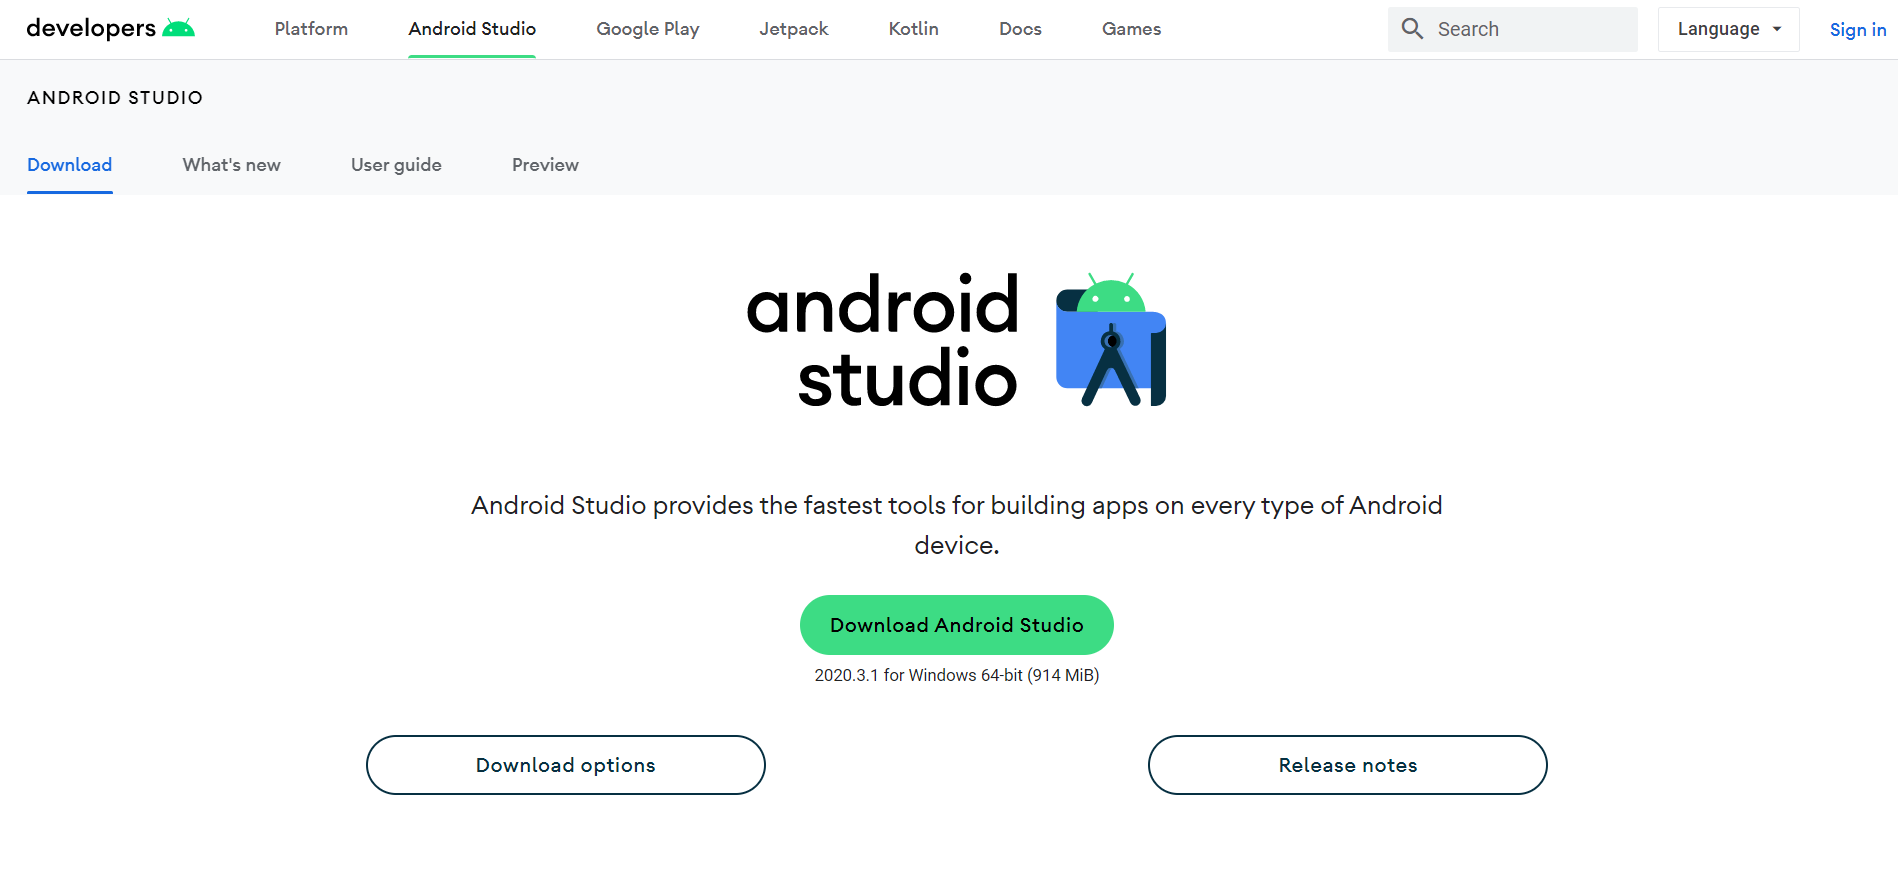
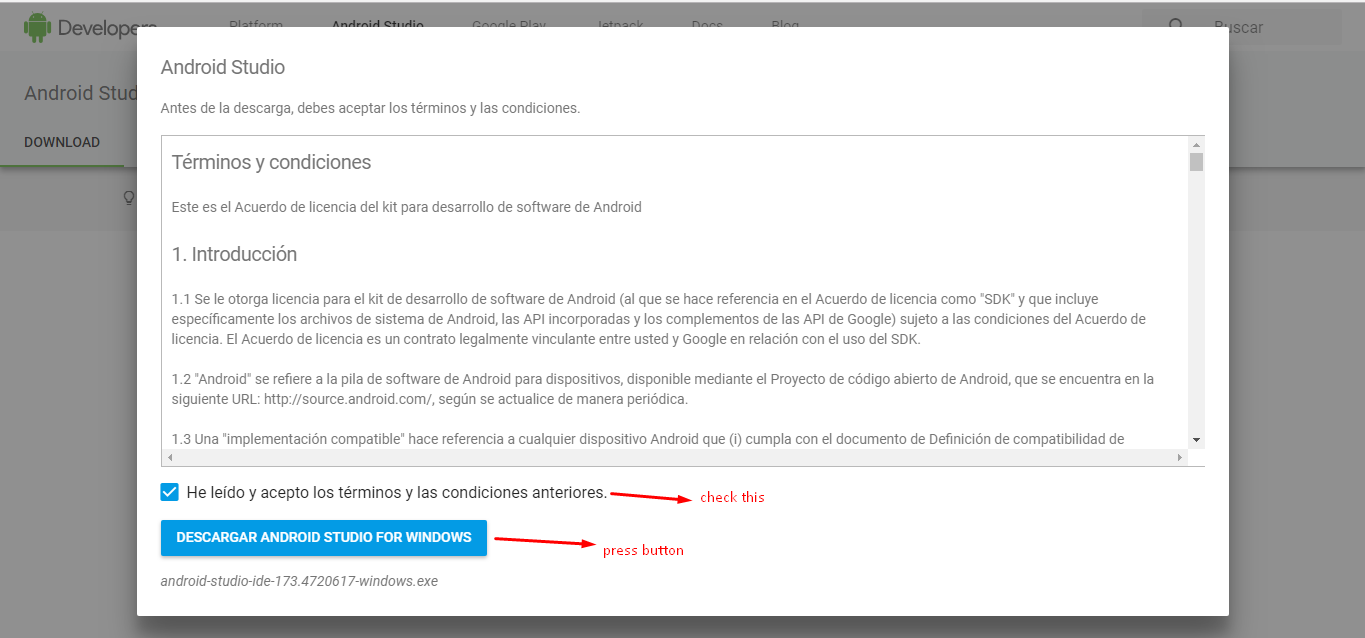
# Download android studio
Latest Android Studio version is recommended, it can be downloaded from here: http://developer.android.com/intl/es/sdk/index.html
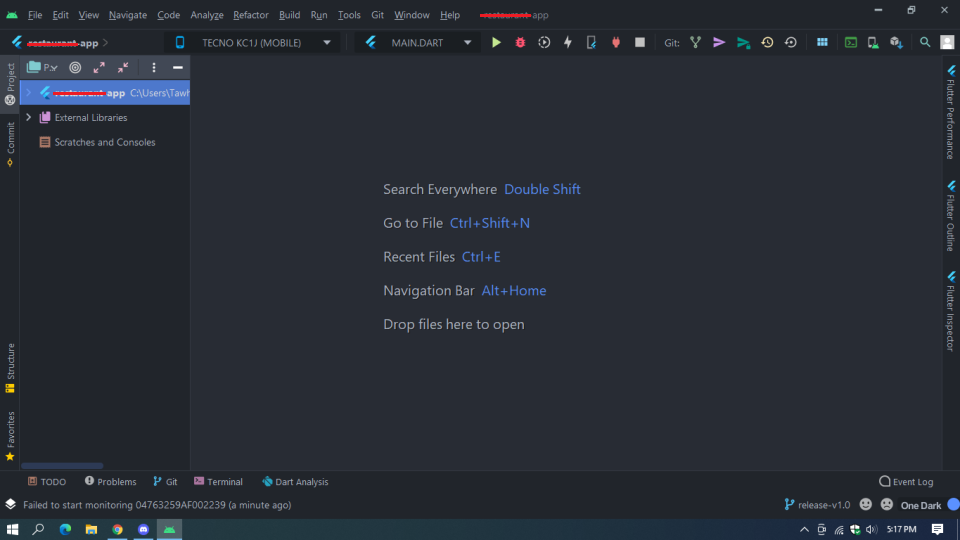
# Open Project in android studio
Open Android Studio > Open an Existing Android Studio Project > Select Your Project build.gradle file > ok
Select Project
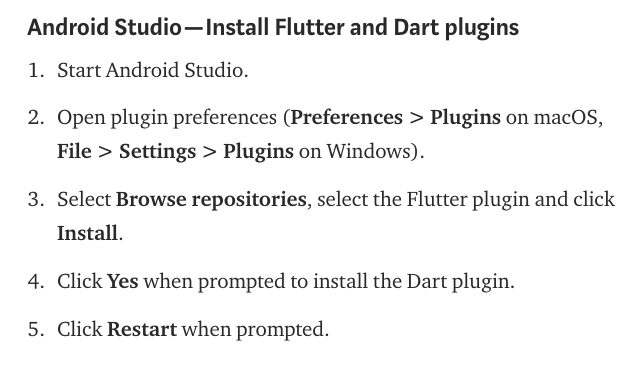
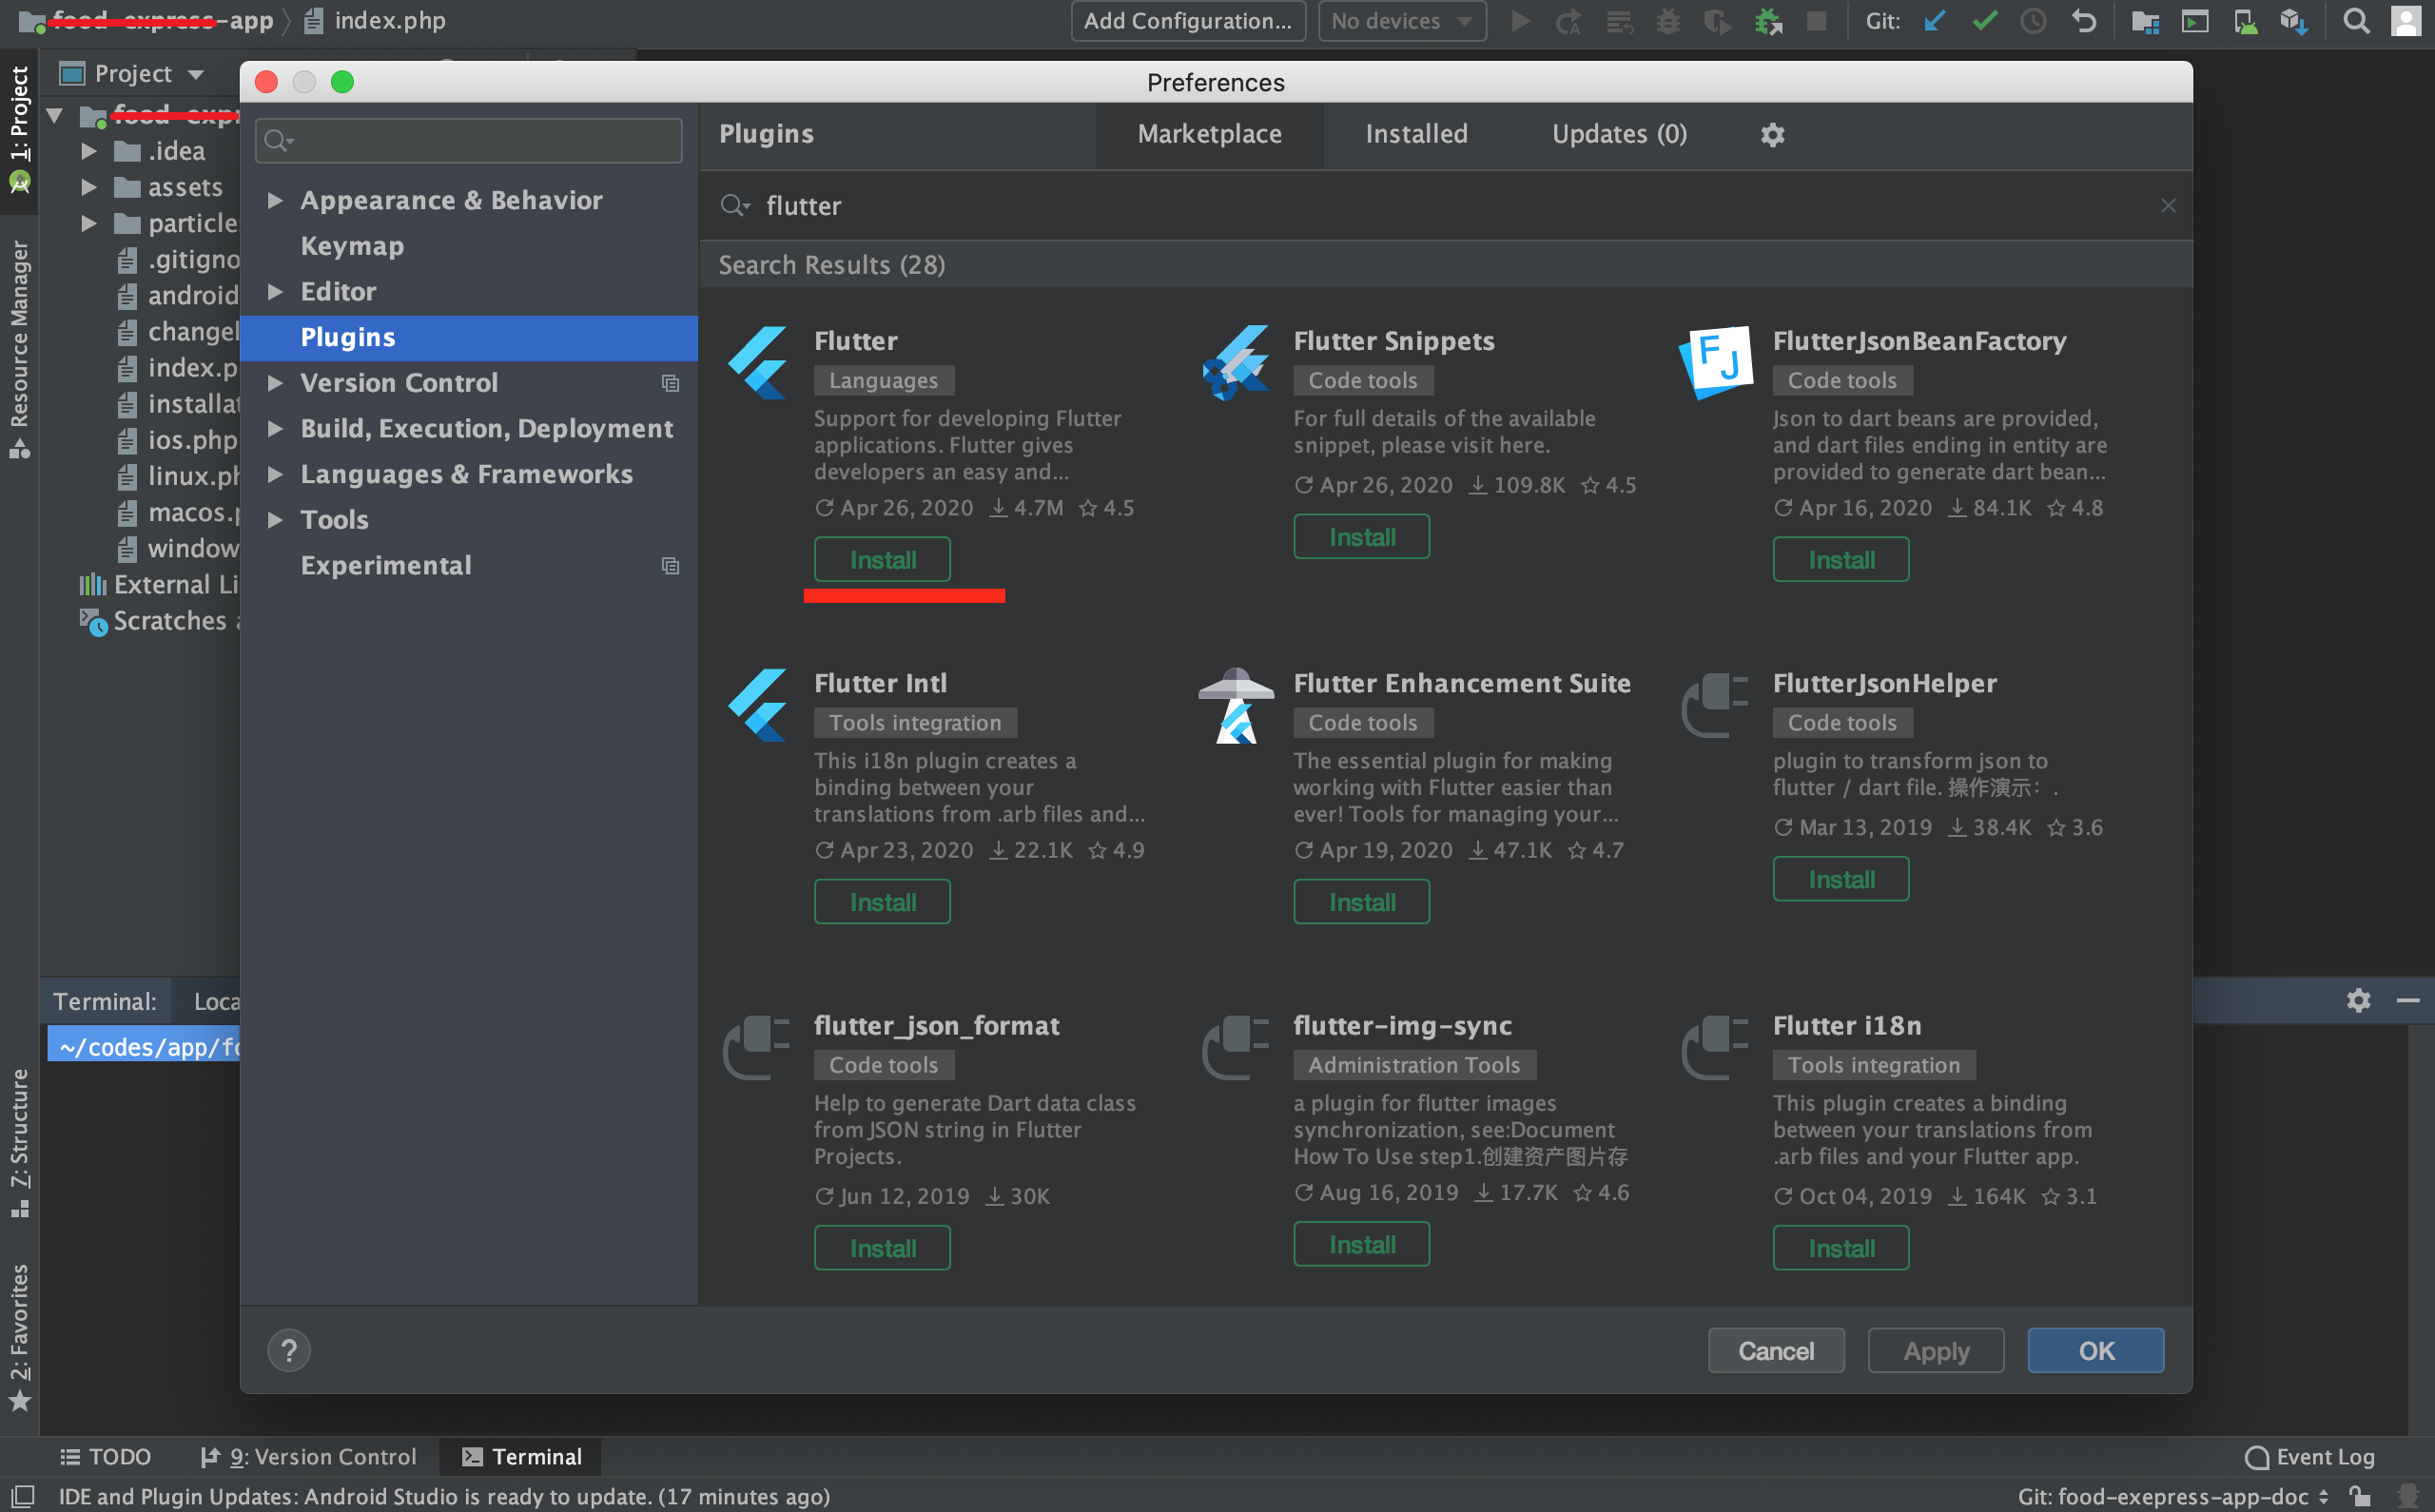
# Android Studio — Install Flutter and Dart plugins
if you want then you can read this article to know more
Open Android Studio > Open an Existing Android Studio Project > Select Your flutter project

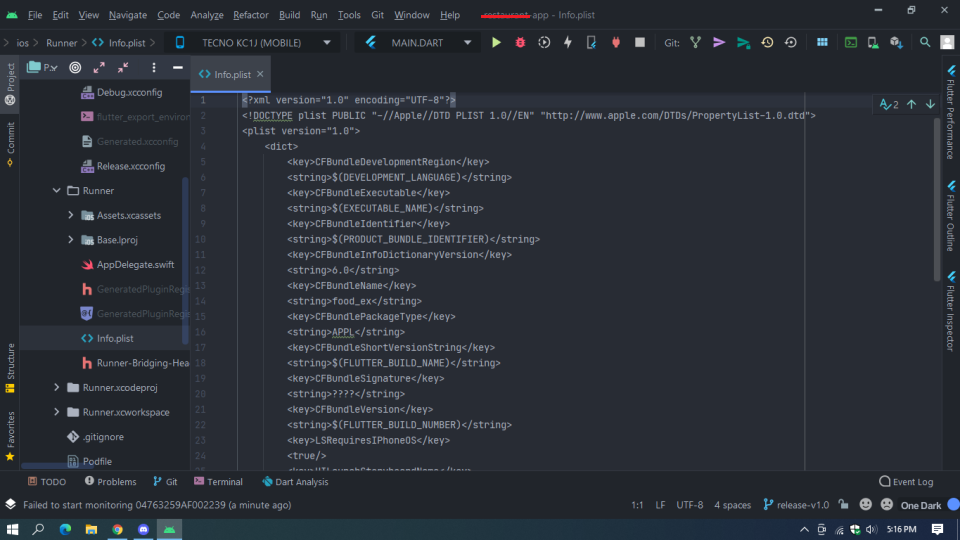
# How to Open in xcode?
project => ios folder => runner folder => open info.plist in top right side click open project in xcode
Then Runner open in xcode
If you want you may go through this link open xcode.
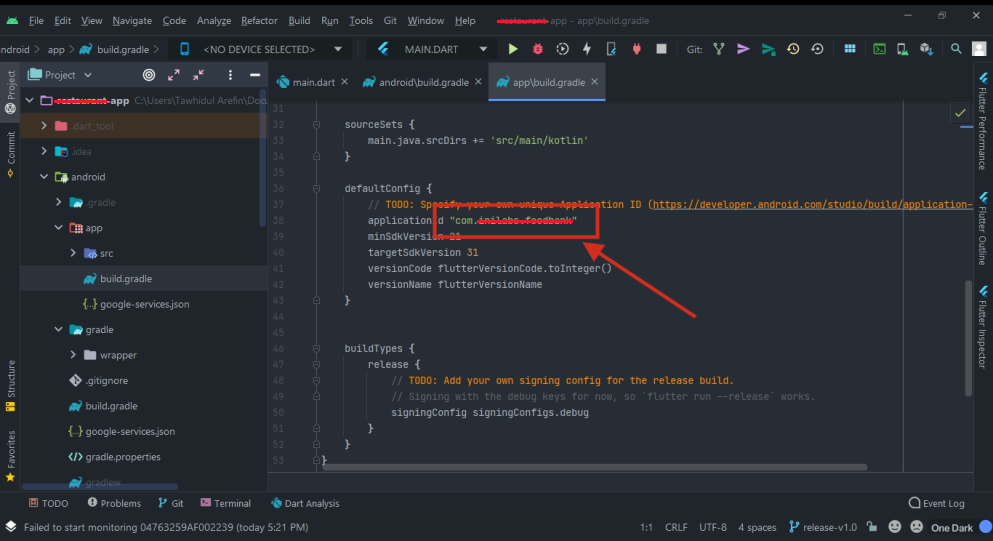
# How to change the package name?
This is how you can rename package for both ios and android
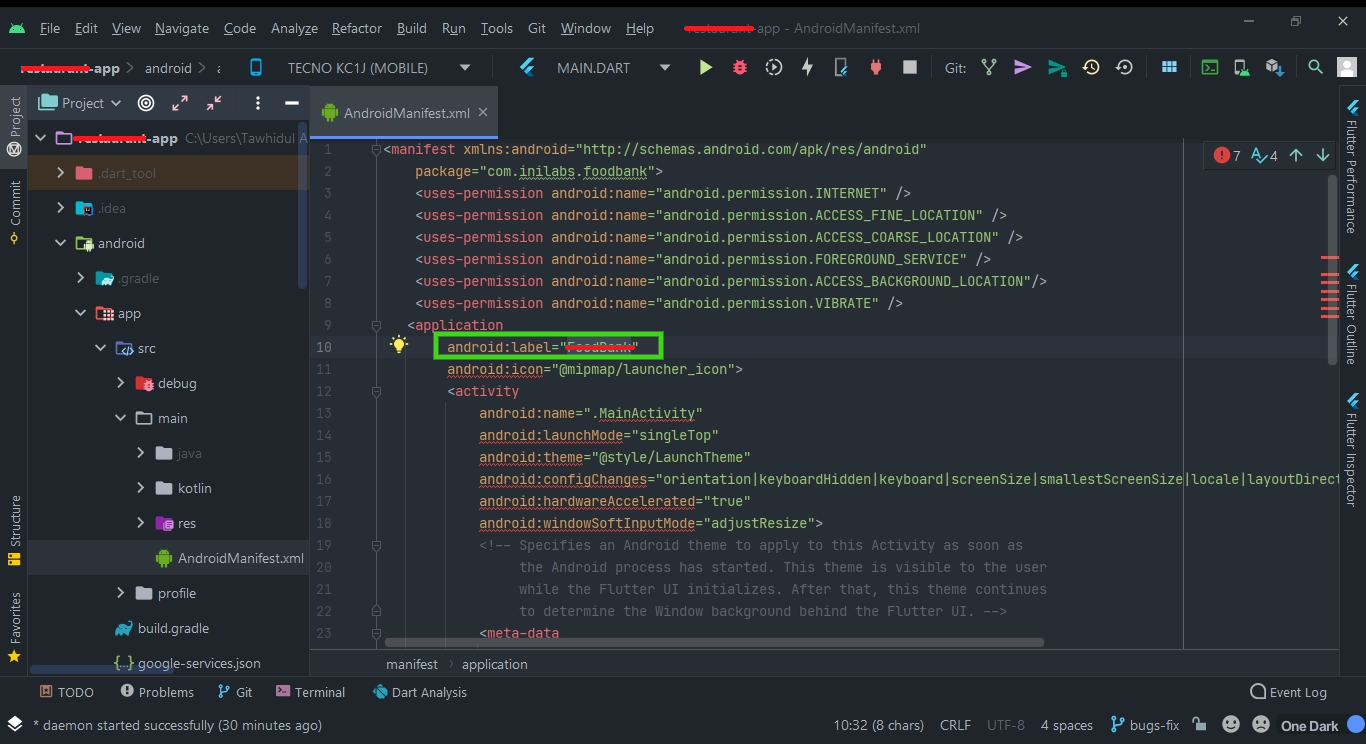
# How to change app name?
  Select Project > go to android folder > app folder > src folder > main folder > AndroidManifest.xml then change the android:label
  name
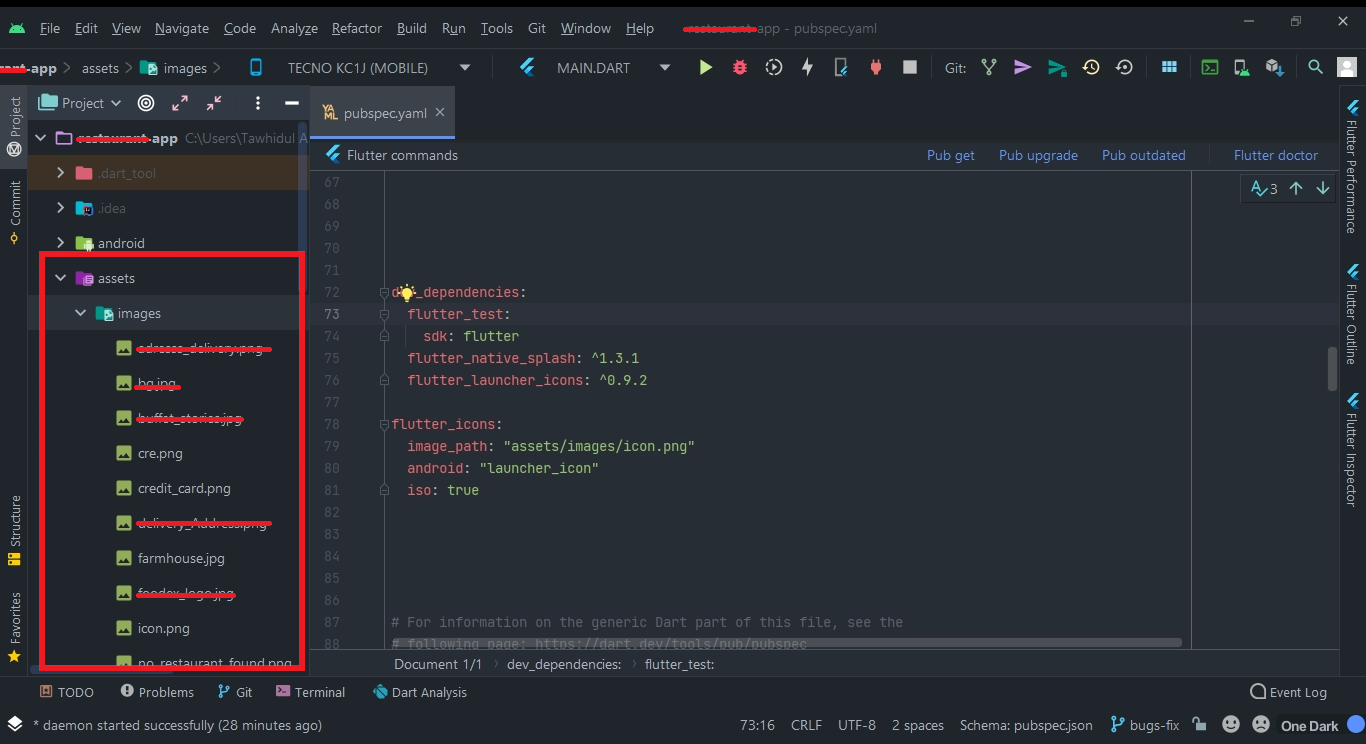
# How to change app icon image?
Select Project > go to assets folder > images folder >  then change the image name as icon.png
name
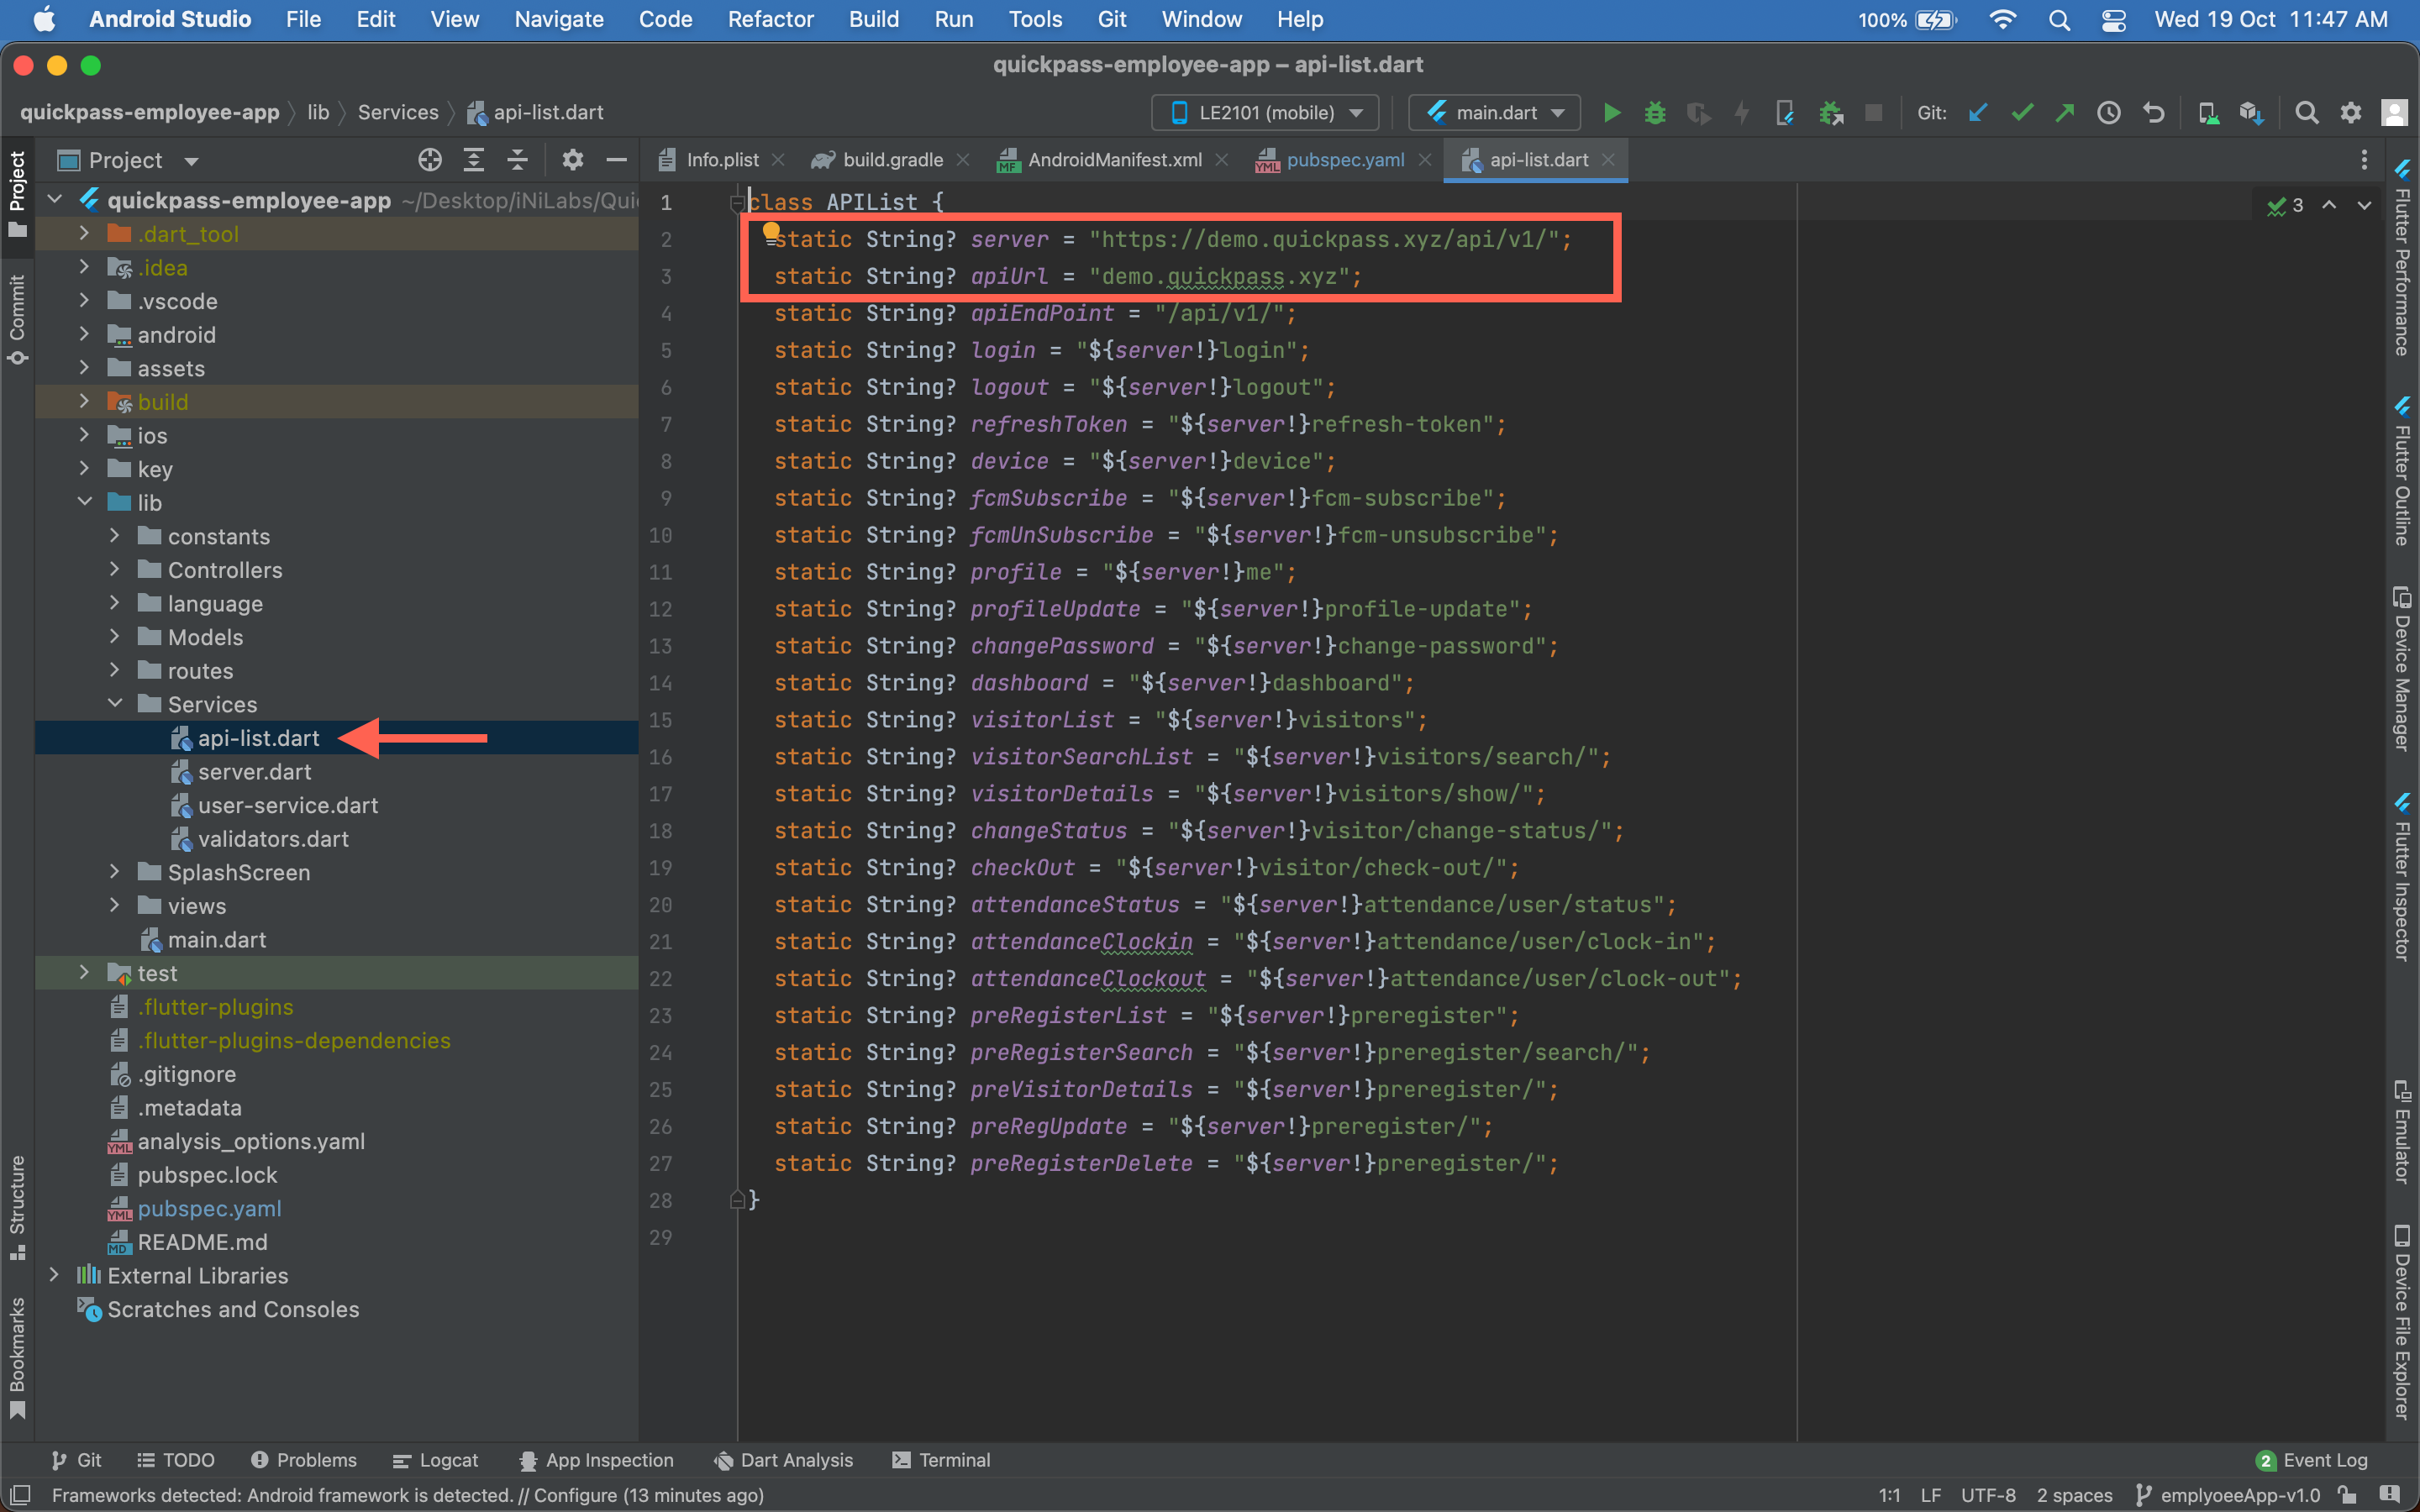
# Where to put Server Url in Application?
Select Project > go to lib folder > services folder > api-list.dart > then change the root url with your url
now if your Sever is http://www.abc.com so your service url like that
http://www.abc.com and ApiUrl "abc.com"
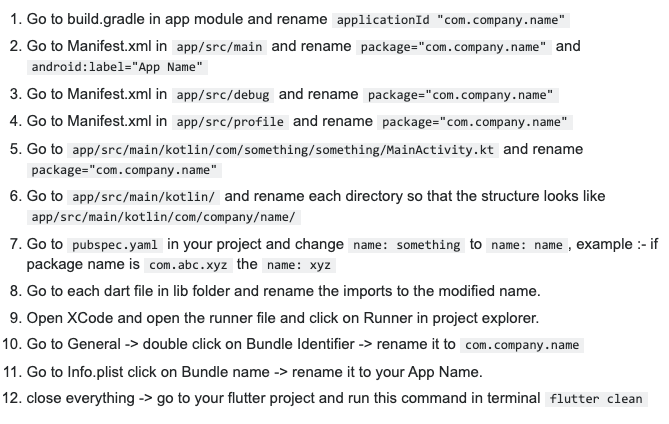
Note: When renaming com in Android Studio, it might give a warning. In such case, select rename all.
# Change App all graphics
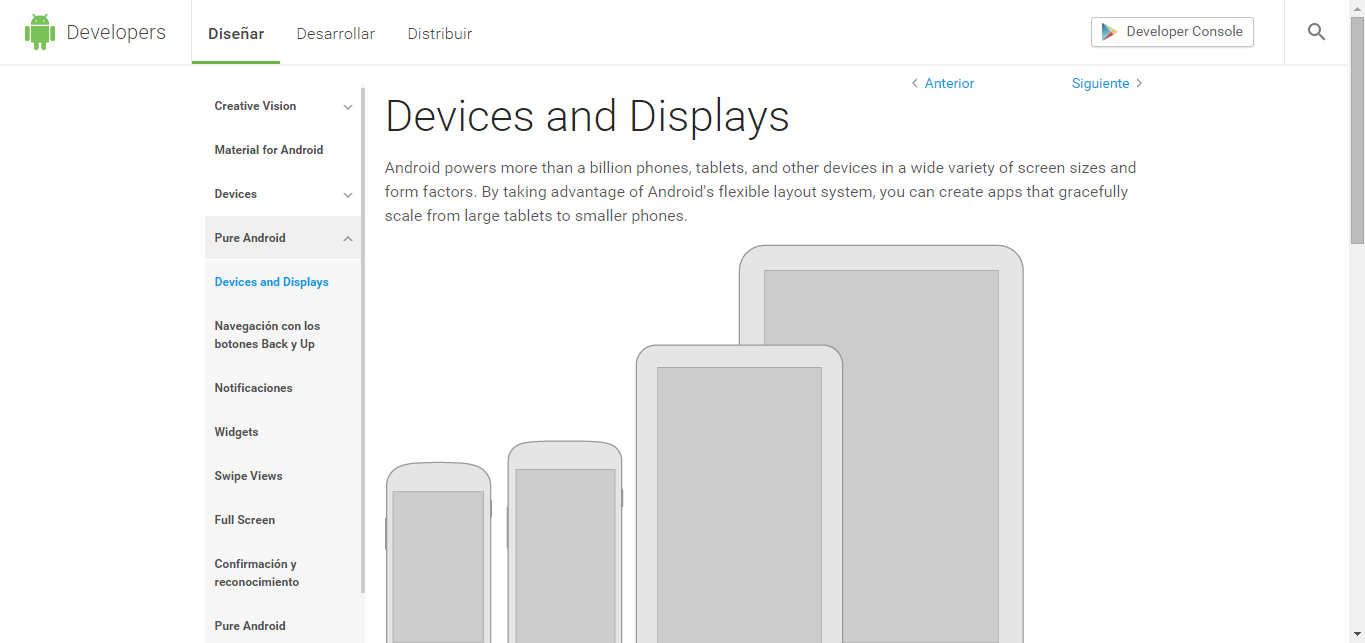
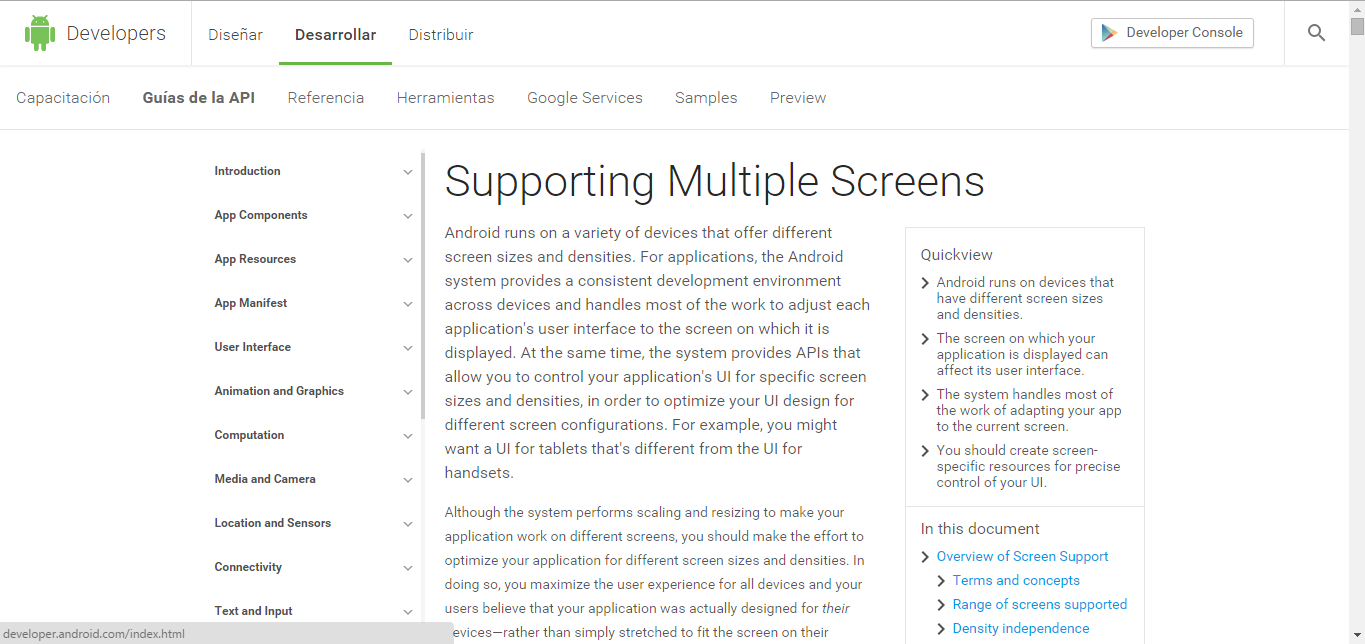
You will find all image into /res/drawable-mdpi/,/res/drawable-hdpi/,/res/drawable-xhdpi/ folder. Just create your own graphics and replace those files. Create separate graphics of different device screen sizes & place them into other drawable folders (drawable-hdpi & drawable-xhdpi) with same file name found at drawable-mdpi folder. Check here for more information: Devices and Displays & Supporting Multiple Screens
# Application Showcase in PlayStore
Once you will publish your app to Google Play or any other Android store, send us your app link. We will happy to showcase your app into our website & CodeCanyon page.
# Rating
If you like our app, we will highly appreciate if you can provide us a rating of 5. You can rate us from your CodeCanyon Menu > Download page.
Installation
Prerequisite:
First you need to setup computer environment for flutter app setup and installation and build. to do this follow flutter official website documentation and then follow above instructions.
Android Installation Process
Build and release an Android app
During a typical development cycle,
you test an app using flutter run at the command line,
or by using the Run and Debug
options in your IDE. By default,
Flutter builds a debug version of your app.
When you’re ready to prepare a release version of your app, for example to publish to the Google Play Store, this page can help. Before publishing, you might want to put some finishing touches on your app. This page covers the following topics:
- Adding a launcher icon
- Signing the app
- Shrinking your code with R8
- Reviewing the app manifest
- Reviewing the build configuration
- Building the app for release
- Publishing to the Google Play Store
- Updating the app’s version number
- Android release FAQ
Adding a launcher icon
When a new Flutter app is created, it has a default launcher icon. To customize this icon, you might want to check out the flutter_launcher_icons package.
Alternatively, you can do it manually using the following steps:
-
Review the Material Design product icons guidelines for icon design.
-
In the
<app dir>/android/app/src/main/res/directory, place your icon files in folders named using configuration qualifiers. The defaultmipmap-folders demonstrate the correct naming convention. -
In
AndroidManifest.xml, update theapplicationtag’sandroid:iconattribute to reference icons from the previous step (for example,<application android:icon="@mipmap/ic_launcher" ...). -
To verify that the icon has been replaced, run your app and inspect the app icon in the Launcher.
Signing the app
To publish on the Play Store, you need to give your app a digital signature. Use the following instructions to sign your app.
Create a keystore
If you have an existing keystore, skip to the next step. If not, create one by running the following at the command line:
On Mac/Linux, use the following command:
keytool -genkey -v -keystore ~/key.jks -keyalg RSA -keysize 2048 -validity 10000 -alias key
On Windows, use the following command:
keytool -genkey -v -keystore c:/Users/USER_NAME/key.jks -storetype JKS -keyalg RSA -keysize 2048 -validity 10000 -alias key
This command stores the key.jks file in your home
directory. If you want to store it elsewhere, change
the argument you pass to the -keystore parameter.
However, keep the keystore file private;
don’t check it into public source control!
Reference the keystore from the app
Create a file named <app dir>/android/key.properties
that contains a reference to your keystore:
storePassword=<password from previous step>
  keyPassword=<password from previous step>
      keyAlias=key
      storeFile=<location of the key store file, such as /Users/<user name>/key.jks>
Configure signing in gradle
Configure signing for your app by editing the
<app dir>/android/app/build.gradle file.
-
Add code before
androidblock:android { ... }With the keystore information from your properties file:
def keystoreProperties = new Properties()
 def keystorePropertiesFile = rootProject.file('key.properties')
 if (keystorePropertiesFile.exists()) {
     keystoreProperties.load(new FileInputStream(keystorePropertiesFile))
 }

 android {
       ...
 }
Load the
key.propertiesfile into thekeystorePropertiesobject. -
Add code before
buildTypesblock:buildTypes { release { // TODO: Add your own signing config for the release build. // Signing with the debug keys for now, // so `flutter run --release` works. signingConfig signingConfigs.debug } }With the signing configuration info:
signingConfigs {
     release {
         keyAlias keystoreProperties['keyAlias']
         keyPassword keystoreProperties['keyPassword']
         storeFile keystoreProperties['storeFile'] ? file(keystoreProperties['storeFile']) : null
         storePassword keystoreProperties['storePassword']
     }
 }
 buildTypes {
     release {
         signingConfig signingConfigs.release
     }
 }
Configure the
signingConfigsblock in your module’sbuild.gradlefile.
Release builds of your app will now be signed automatically.
For more information on signing your app, see Sign your app on developer.android.com.
Shrinking your code with R8
R8 is the new code shrinker from Google, and it’s enabled by default
when you build a release APK or AAB. To disable R8, pass the --no-shrink
flag to flutter build apk or flutter build appbundle.
Reviewing the app manifest
Review the default App Manifest file,
AndroidManifest.xml,
located in <app dir>/android/app/src/main and verify that the values
are correct, especially the following:
application- Edit the
android:labelin theapplicationtag to reflect the final name of the app. uses-permission- Add the
android.permission.INTERNETpermission if your application code needs Internet access. The standard template does not include this tag but allows Internet access during development to enable communication between Flutter tools and a running app.
Reviewing the build configuration
Review the default Gradle build file file,
build.gradle, located in <app dir>/android/app and
verify the values are correct, especially the following
values in the defaultConfig block:
applicationId- Specify the final, unique (Application Id)appid
-
versionCode&versionName - Specify the internal app version number,
and the version number display string. You can do this by setting
the
versionproperty in the pubspec.yaml file. Consult the version information guidance in the versions documentation. -
minSdkVersion&targetSdkVersion - Specify the minimum API level, and the API level on which the app is designed to run. Consult the API level section in the versions documentation for details.
Building the app for release
You have two possible release formats when publishing to the Play Store.
- App bundle (preferred)
- APK
Build an app bundle
This section describes how to build a release app bundle. If you completed the signing steps, the app bundle will be signed. At this point, you might consider obfuscating your Dart code to make it more difficult to reverse engineer. Obfuscating your code involves adding a couple flags to your build command, and maintaining additional files to de-obfuscate stack traces.
From the command line:
- Enter
cd <app dir>
(Replace<app dir>with your application’s directory.) - Run
flutter build appbundle
(Runningflutter builddefaults to a release build.)
The release bundle for your app is created at
<app dir>/build/app/outputs/bundle/release/app.aab.
By default, the app bundle contains your Dart code and the Flutter runtime compiled for armeabi-v7a (ARM 32-bit), arm64-v8a (ARM 64-bit), and x86-64 (x86 64-bit).
Test the app bundle
An app bundle can be tested in multiple ways—this section describes two.
Offline using the bundle tool
- If you haven’t done so already, download
bundletoolfrom the GitHub repository. - Generate a set of APKs from your app bundle.
- Deploy the APKs to connected devices.
Online using Google Play
- Upload your bundle to Google Play to test it. You can use the internal test track, or the alpha or beta channels to test the bundle before releasing it in production.
- Follow these steps to upload your bundle to the Play Store.
Build an APK
Although app bundles are preferred over APKs, there are stores that don’t yet support app bundles. In this case, build a release APK for each target ABI (Application Binary Interface).
If you completed the signing steps, the APK will be signed. At this point, you might consider obfuscating your Dart code to make it more difficult to reverse engineer. Obfuscating your code involves adding a couple flags to your build command.
From the command line:
- Enter
cd <app dir>
(Replace<app dir>with your application’s directory.) - Run
flutter build apk --split-per-abi
(Theflutter buildcommand defaults to--release.)
This command results in three APK files:
<app dir>/build/app/outputs/apk/release/app-armeabi-v7a-release.apk<app dir>/build/app/outputs/apk/release/app-arm64-v8a-release.apk<app dir>/build/app/outputs/apk/release/app-x86_64-release.apk
Removing the --split-per-abi flag results in a fat APK that contains
your code compiled for all the target ABIs. Such APKs are larger in
size than their split counterparts, causing the user to download
native binaries that are not applicable to their device’s architecture.
Install an APK on a device
Follow these steps to install the APK on a connected Android device.
From the command line:
- Connect your Android device to your computer with a USB cable.
- Enter
cd <app dir>where<app dir>is your application directory. - Run
flutter install.
Publishing to the Google Play Store
For detailed instructions on publishing your app to the Google Play Store, see the Google Play launch documentation.
Updating the app’s version number
The default version number of the app is 1.0.0.
To update it, navigate to the pubspec.yaml file
and update the following line:
version: 1.0.0+1
The version number is three numbers separated by dots,
such as 1.0.0 in the example above, followed by an optional
build number such as 1 in the example above, separated by a +.
Both the version and the build number may be overridden in Flutter’s
build by specifying --build-name and --build-number, respectively.
In Android, build-name is used as versionName while
build-number used as versionCode. For more information,
see Version your app in the Android documentation.
Android release FAQ
Here are some commonly asked questions about deployment for Android apps.
When should I build app bundles versus APKs?
The Google Play Store recommends that you deploy app bundles over APKs because they allow a more efficient delivery of the application to your users. However, if you’re distributing your application by means other than the Play Store, an APK may be your only option.
What is a fat APK?
A fat APK is a single APK that contains binaries for multiple
ABIs embedded within it. This has the benefit that the single APK
runs on multiple architectures and thus has wider compatibility,
but it has the drawback that its file size is much larger,
causing users to download and store more bytes when installing
your application. When building APKs instead of app bundles,
it is strongly recommended to build split APKs,
as described in build an APK using the
--split-per-abi flag.
What are the supported target architectures?
When building your application in release mode, Flutter apps can be compiled for armeabi-v7a (ARM 32-bit), arm64-v8a (ARM 64-bit), and x86-64 (x86 64-bit). Flutter does not currently support building for x86 Android (See Issue 9253).
How do I sign the app bundle created by flutter build appbundle?
See Signing the app.
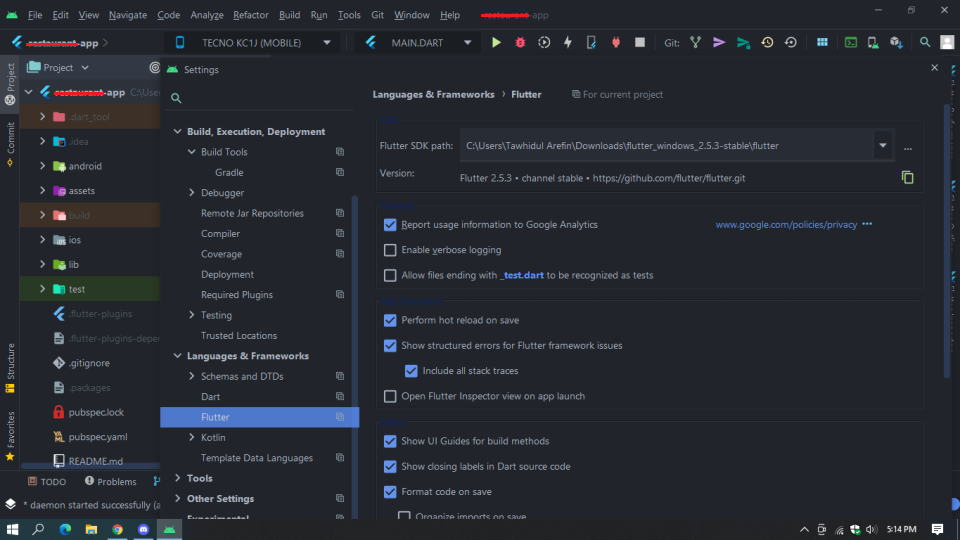
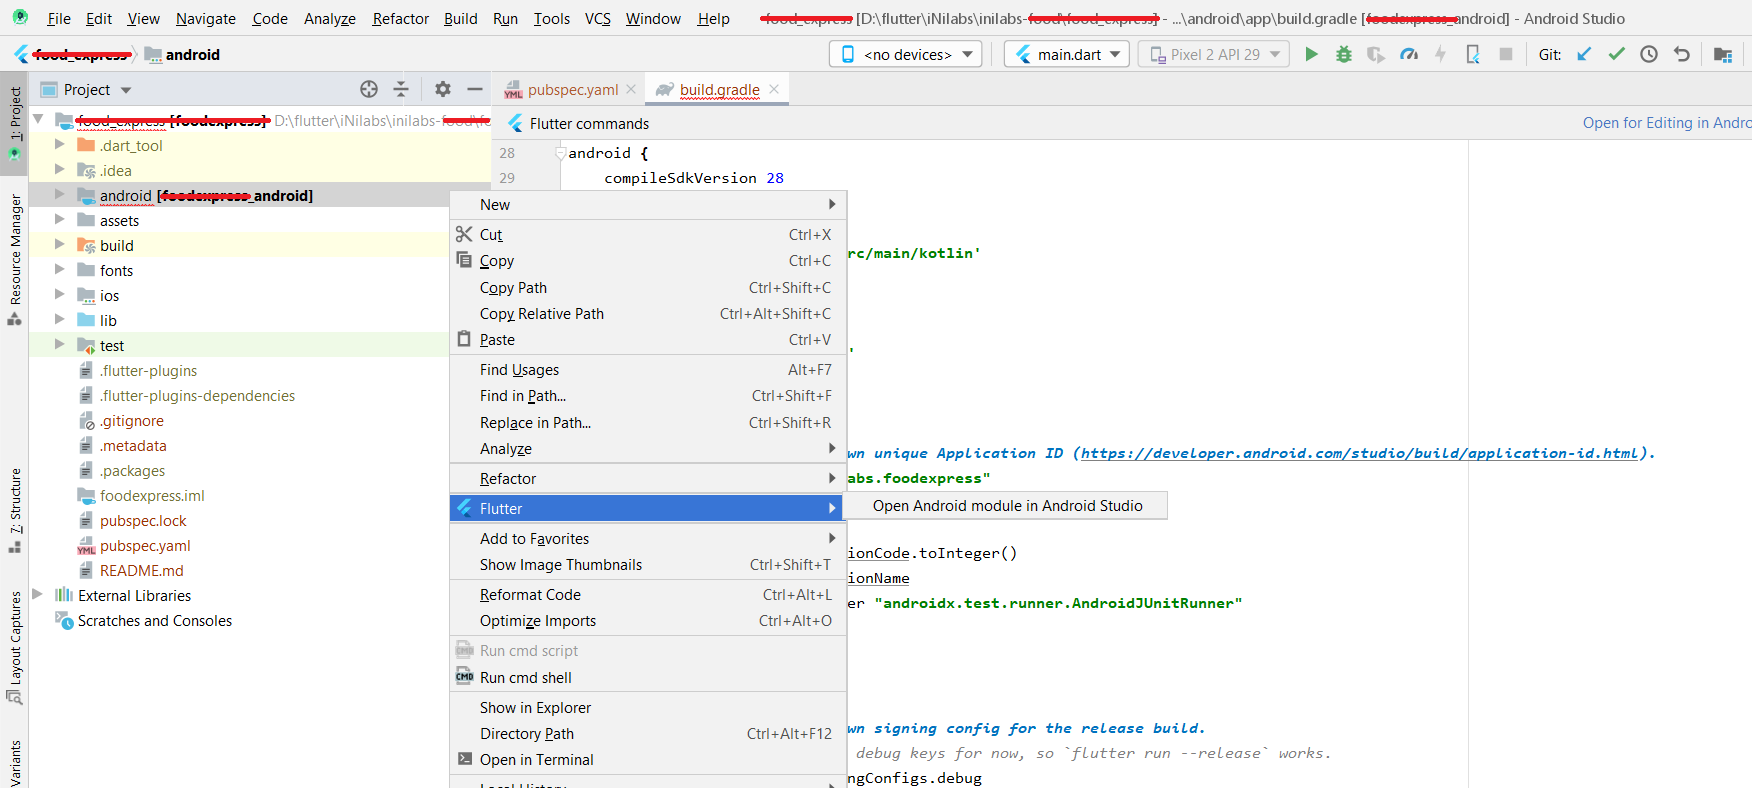
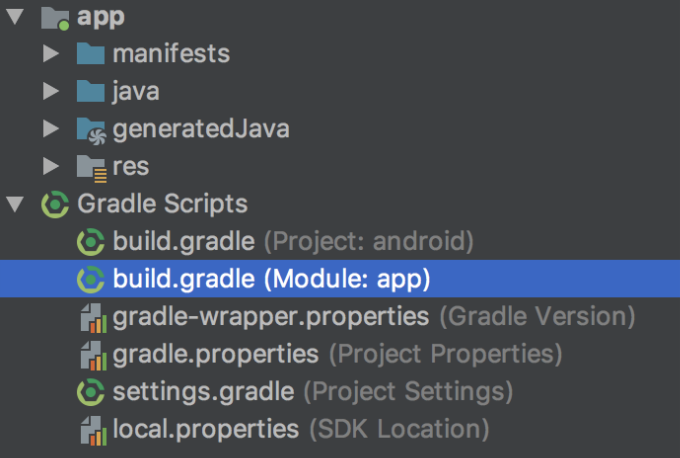
How do I build a release from within Android Studio?
In Android Studio, open the existing android/
folder under your app’s folder. Then,
select build.gradle (Module: app) in the project panel:
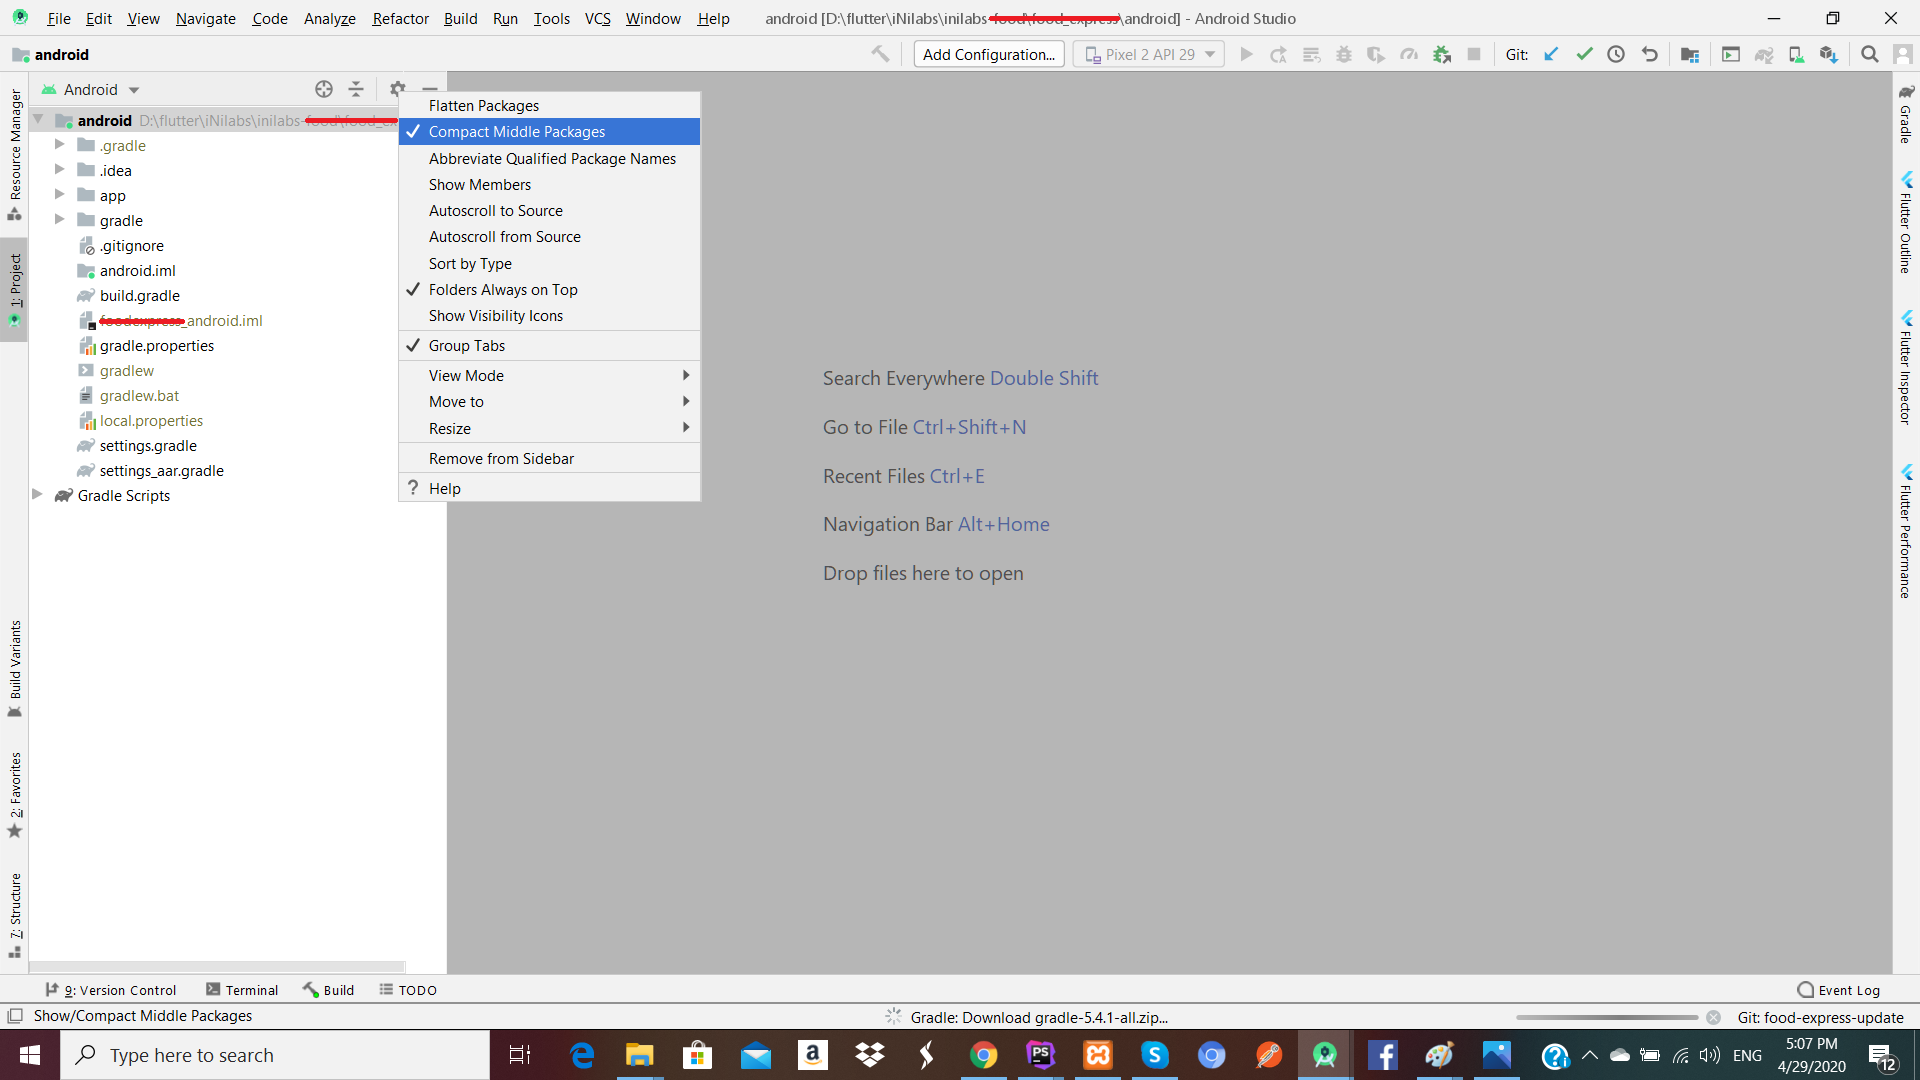
Next, select the build variant. Click Build > Select Build Variant in the main menu. Select any of the variants in the Build Variants panel (debug is the default):
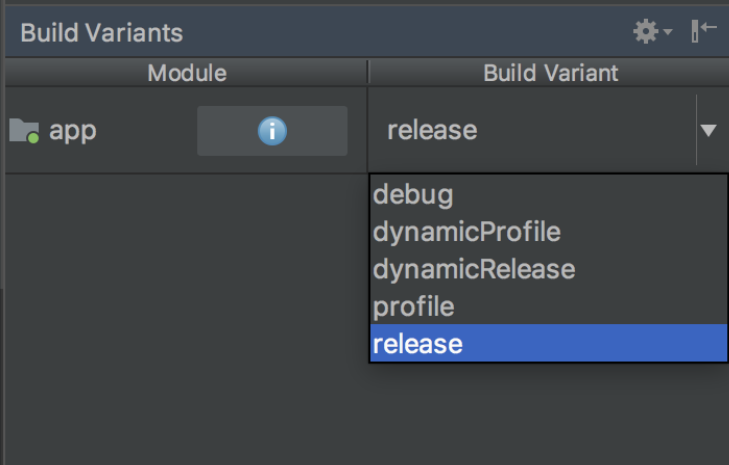
The resulting app bundle or APK files are located in
build/app/outputs within your app’s folder.
Build and release an iOS app
This guide provides a step-by-step walk through of releasing a Flutter app to the App Store and TestFlight.
Preliminaries
Before beginning the process of releasing your app, ensure that it meets Apple’s App Review Guidelines.
In order to publish your app to the App Store, you must first enroll in the Apple Developer Program. You can read more about the various membership options in Apple’s Choosing a Membership guide.
Register your app on App Store Connect
Manage your app’s life cycle on App Store Connect (formerly iTunes Connect). You define your app name and description, add screenshots, set pricing, and manage releases to the App Store and TestFlight.
Registering your app involves two steps: registering a unique Bundle ID, and creating an application record on App Store Connect.
For a detailed overview of App Store Connect, see the App Store Connect guide.
Register a Bundle ID
Every iOS application is associated with a Bundle ID, a unique identifier registered with Apple. To register a Bundle ID for your app, follow these steps:
- Open the App IDs page of your developer account.
- Click + to create a new Bundle ID.
- Enter an app name, select Explicit App ID, and enter an ID.
- Select the services your app uses, then click Continue.
- On the next page, confirm the details and click Register to register your Bundle ID.
Create an application record on App Store Connect
Register your app on App Store Connect:
- Open App Store Connect in your browser.
- On the App Store Connect landing page, click My Apps.
- Click + in the top-left corner of the My Apps page, then select New App.
- Fill in your app details in the form that appears. In the Platforms section, ensure that iOS is checked. Since Flutter does not currently support tvOS, leave that checkbox unchecked. Click Create.
- Navigate to the application details for your app and select App Information from the sidebar.
- In the General Information section, select the Bundle ID you registered in the preceding step.
For a detailed overview, see Add an app to your account.
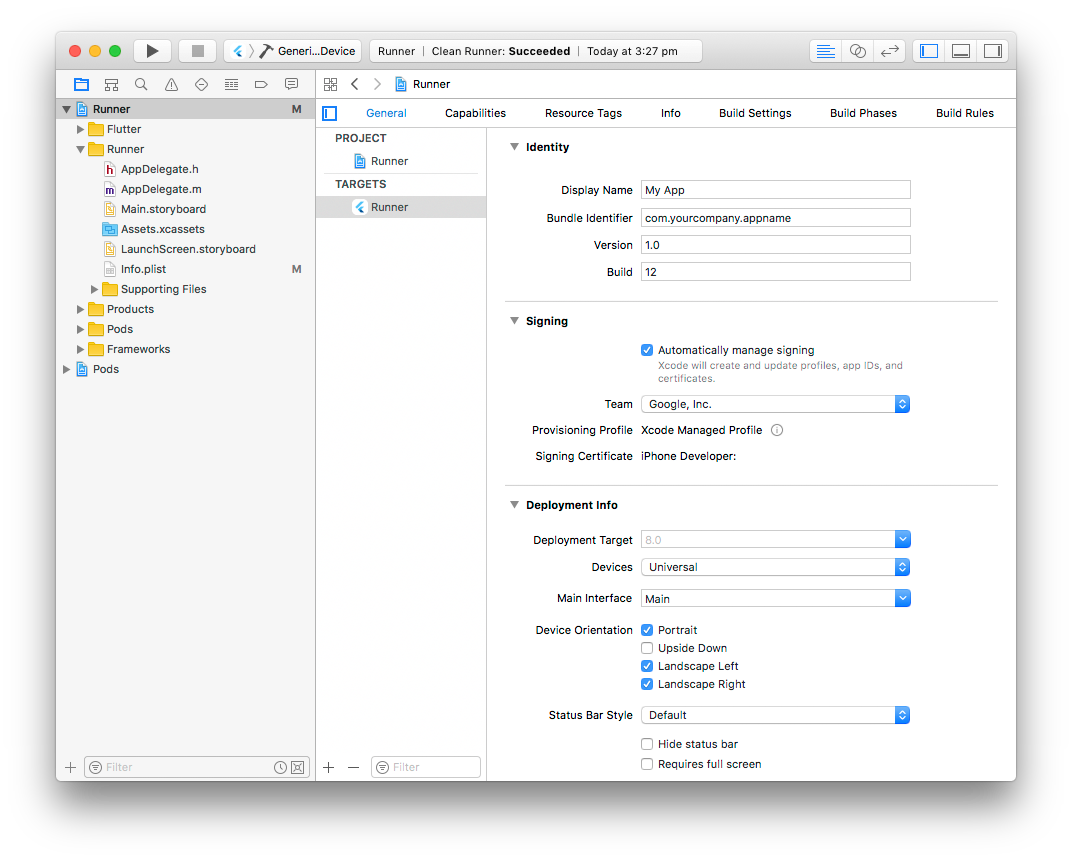
Review Xcode project settings
This step covers reviewing the most important settings in the Xcode workspace. For detailed procedures and descriptions, see Prepare for app distribution.
Navigate to your target’s settings in Xcode:
- In Xcode, open
Runner.xcworkspacein your app’siosfolder. - To view your app’s settings, select the Runner project in the Xcode project navigator. Then, in the main view sidebar, select the Runner target.
- Select the General tab.
Verify the most important settings.
In the Identity section:
Display Name- Runner
Changing the display name to anything other than
Runnercauses the app not to run with the Flutter tools. For more information, see Issue 41793. Bundle Identifier- The App ID you registered on App Store Connect.
In the Signing section:
Automatically manage signing- Whether Xcode should automatically manage app signing
and provisioning. This is set
trueby default, which should be sufficient for most apps. For more complex scenarios, see the Code Signing Guide. Team- Select the team associated with your registered Apple Developer account. If required, select Add Account…, then update this setting.
In the Deployment Info section:
Deployment Target:- The minimum iOS version that your app supports. Flutter supports iOS 8.0 and later. If your app includes Objective-C or Swift code that makes use of APIs that were unavailable in iOS 8, update this setting appropriately.
The General tab of your project settings should resemble the following:
For a detailed overview of app signing, see Create, export, and delete signing certificates.
Updating the app’s name
In the main view sidebar, select the Info.plist file.
Rename the Bundle name field.
Updating the app’s version number
The default version number of the app is 1.0.0.
To update it, navigate to the pubspec.yaml file
and update the following line:
version: 1.0.0+1
The version number is three numbers separated by dots,
such as 1.0.0 in the example above, followed by an optional
build number such as 1 in the example above, separated by a +.
Both the version and the build number may be overridden in Flutter’s
build by specifying --build-name and --build-number,
respectively.
In iOS, build-name uses CFBundleShortVersionString
while build-number uses CFBundleVersion.
Read more about iOS versioning at Core Foundation Keys
on the Apple Developer’s site.
Add an app icon
When a new Flutter app is created, a placeholder icon set is created. This step covers replacing these placeholder icons with your app’s icons:
- Review the iOS App Icon guidelines.
- In the Xcode project navigator, select
Assets.xcassetsin theRunnerfolder. Update the placeholder icons with your own app icons. - Verify the icon has been replaced by running your app using
flutter run.
Create a build archive
This step covers creating a build archive and uploading your build to App Store Connect.
During development, you’ve been building, debugging, and testing with debug builds. When you’re ready to ship your app to users on the App Store or TestFlight, you need to prepare a release build. At this point, you might consider obfuscating your Dart code to make it more difficult to reverse engineer. Obfuscating your code involves adding a couple flags to your build command.
On the command line, follow these steps in your application directory:
- Run
flutter build iosto create a release build (flutter builddefaults to--release). - To ensure that Xcode refreshes the release mode configuration, close and re-open your Xcode workspace. For Xcode 8.3 and later, this step is not required.
In Xcode, configure the app version and build:
- In Xcode, open
Runner.xcworkspacein your app’siosfolder. - Select Product > Scheme > Runner.
- Select Product > Destination > Generic iOS Device.
- Select Runner in the Xcode project navigator, then select the Runner target in the settings view sidebar.
- In the Identity section, update the Version to the user-facing version number you wish to publish.
- In the Identity section, update the Build identifier to a unique build number used to track this build on App Store Connect. Each upload requires a unique build number.
Finally, create a build archive and upload it to App Store Connect:
- Select Product > Archive to produce a build archive.
- In the sidebar of the Xcode Organizer window, select your iOS app, then select the build archive you just produced.
- Click the Validate App button. If any issues are reported, address them and produce another build. You can reuse the same build ID until you upload an archive.
- After the archive has been successfully validated, click Distribute App. You can follow the status of your build in the Activities tab of your app’s details page on App Store Connect.
You should receive an email within 30 minutes notifying you that your build has been validated and is available to release to testers on TestFlight. At this point you can choose whether to release on TestFlight, or go ahead and release your app to the App Store.
For more details, see Upload an app to App Store Connect.
Release your app on TestFlight
TestFlight allows developers to push their apps to internal and external testers. This optional step covers releasing your build on TestFlight.
- Navigate to the TestFlight tab of your app’s application details page on App Store Connect.
- Select Internal Testing in the sidebar.
- Select the build to publish to testers, then click Save.
- Add the email addresses of any internal testers. You can add additional internal users in the Users and Roles page of App Store Connect, available from the dropdown menu at the top of the page.
For more details, see Distribute an app using TestFlight.
Release your app to the App Store
When you’re ready to release your app to the world, follow these steps to submit your app for review and release to the App Store:
- Select Pricing and Availability from the sidebar of your app’s application details page on App Store Connect and complete the required information.
- Select the status from the sidebar. If this is the first release of this app, its status is 1.0 Prepare for Submission. Complete all required fields.
- Click Submit for Review.
Apple notifies you when their app review process is complete. Your app is released according to the instructions you specified in the Version Release section.
For more details, see Distribute an app through the App Store.
Troubleshooting
The Distribute your app guide provides a detailed overview of the process of releasing an app to the App Store.
App Workflow
Quickpass Kiosk App for In Lobby Check-in Addon
-
App Specialities
- Smartest User Interface (UI)
- Easy to use
- Special featured packed
- Visitor Check-in
- Have Appointment
- Been here before
- Check-out
-
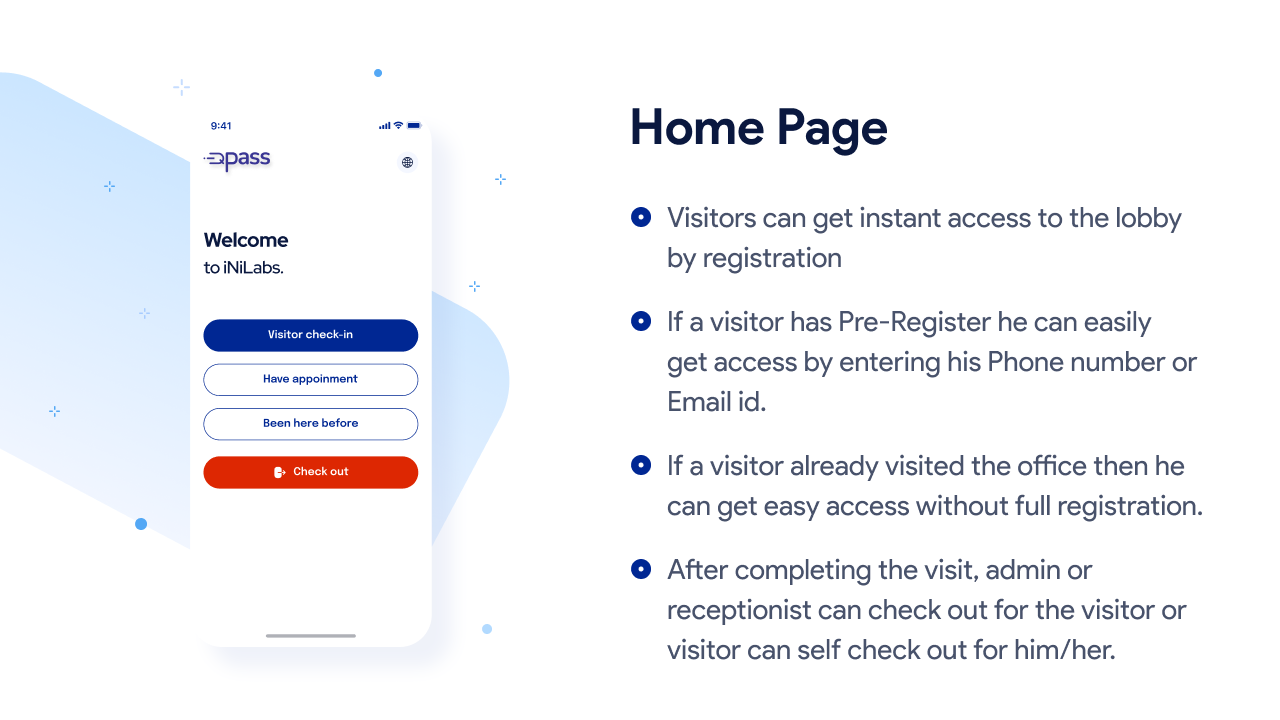
In Lobby Check-in
Check-in
- Instant check-in by in lobby registration
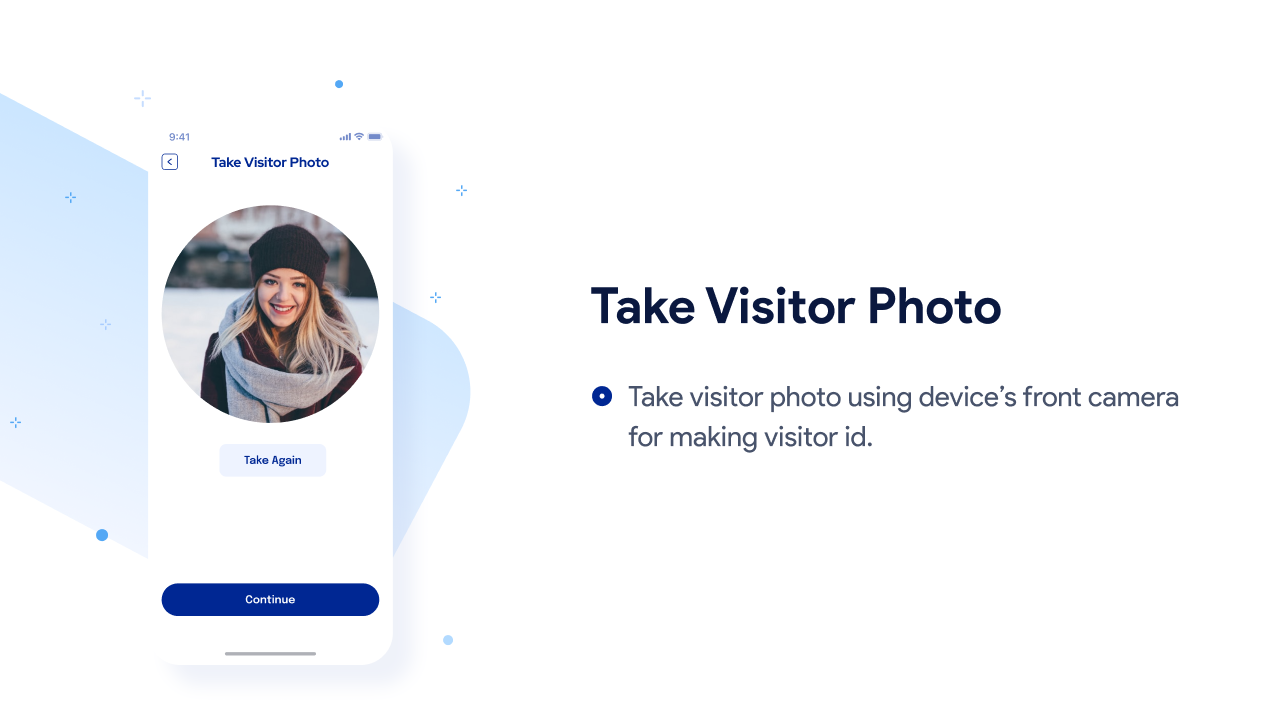
- After reg visitor need to take photo
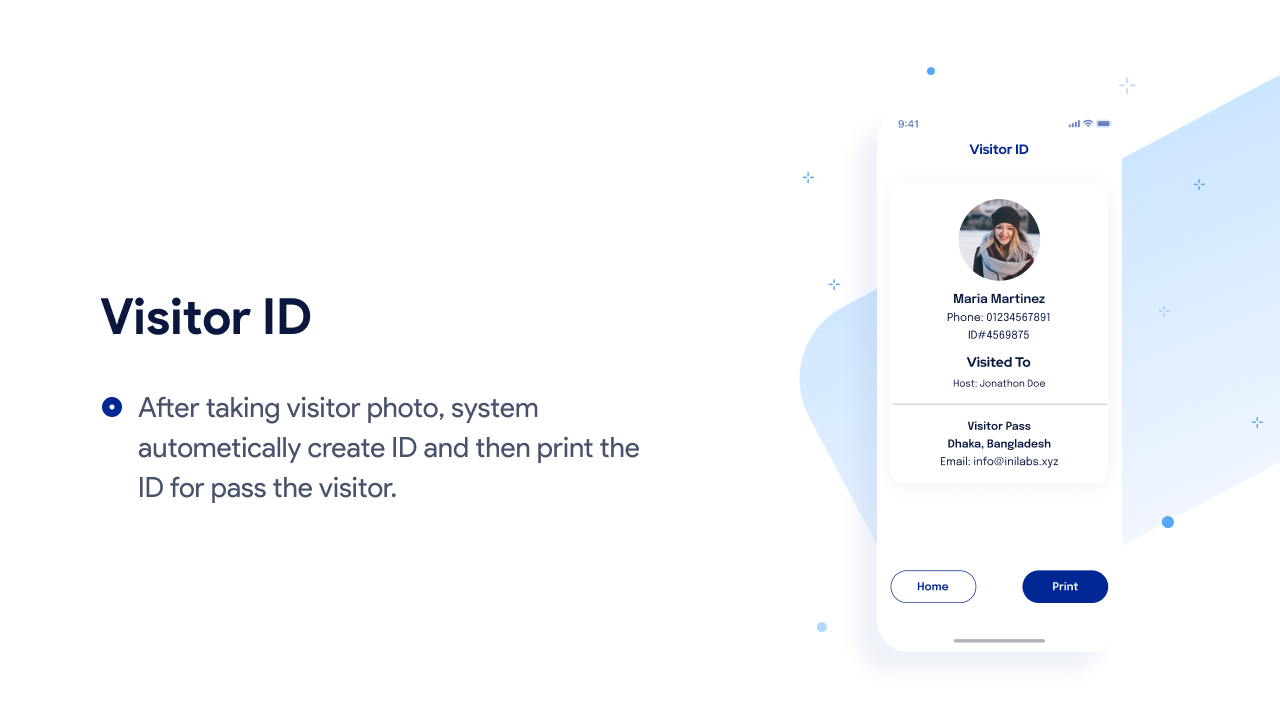
- Afetr reg and photo taking visitor will get a visitor Id card then he/she will able meet the employee
-
Pre-registration
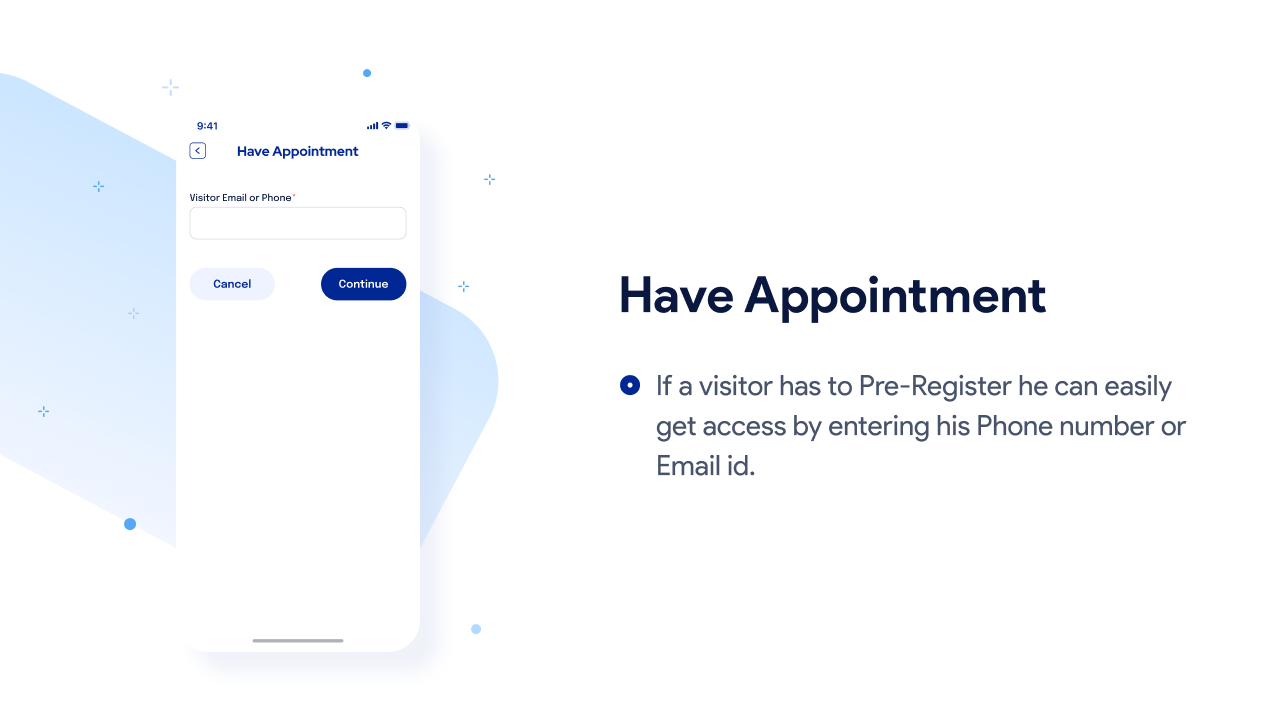
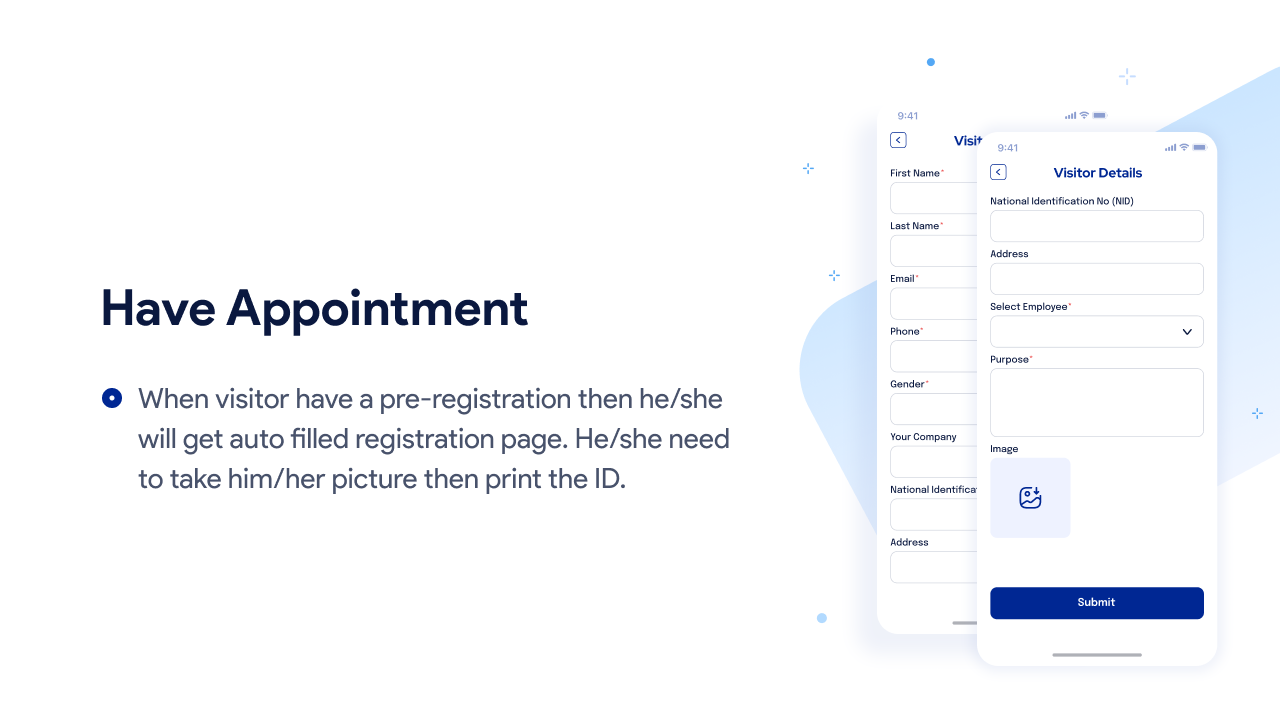
Have Appointment
- If visitor is pre-registered then he get easy check-in by email or phone number
- Other info will be auto filled for pre registerd visitor
- The next step to pre-register visitor to take photo
- Afetr reg and photo taking visitor will get a visitor Id card then he/she will able meet the employee
-
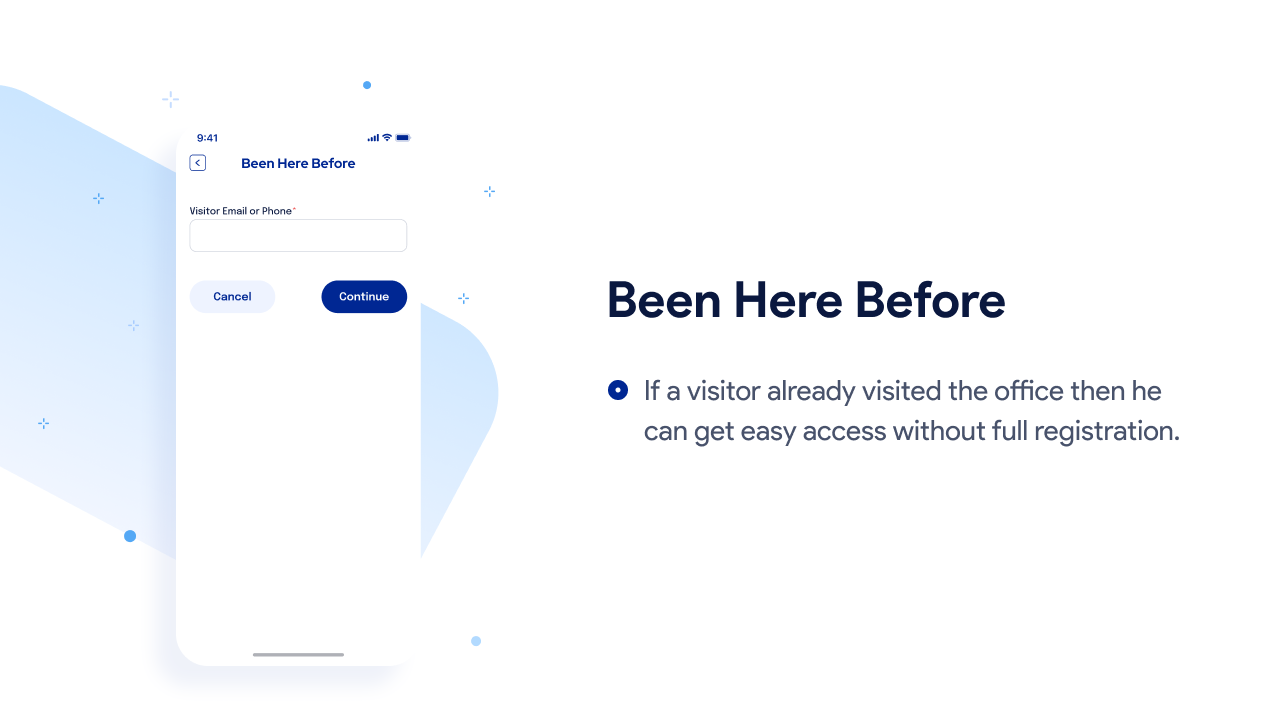
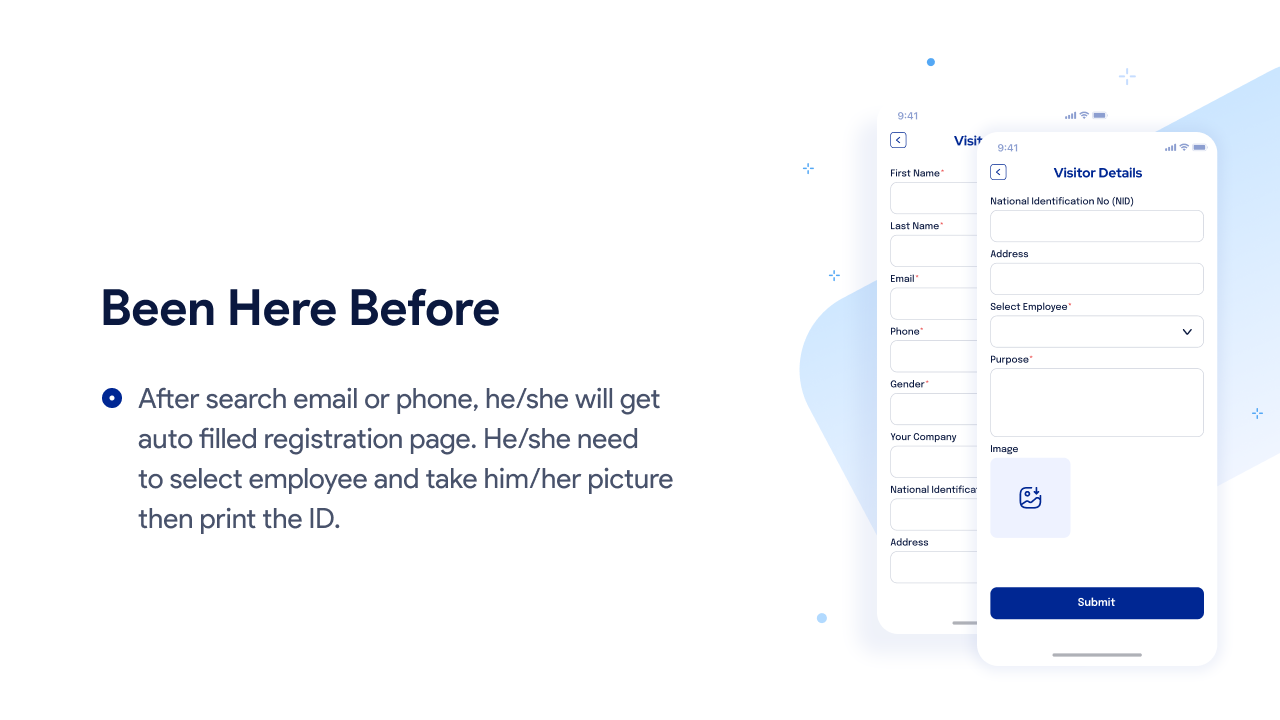
Have Been Here Before
Been Here Before
- If a visitor visited the office before then he will get access without full registration
- By entering phone number or email he will get his previous registered form
- The next step for visitor to take photo
- Afetr reg and photo taking visitor will get a visitor Id card then he/she will able meet the employee
-
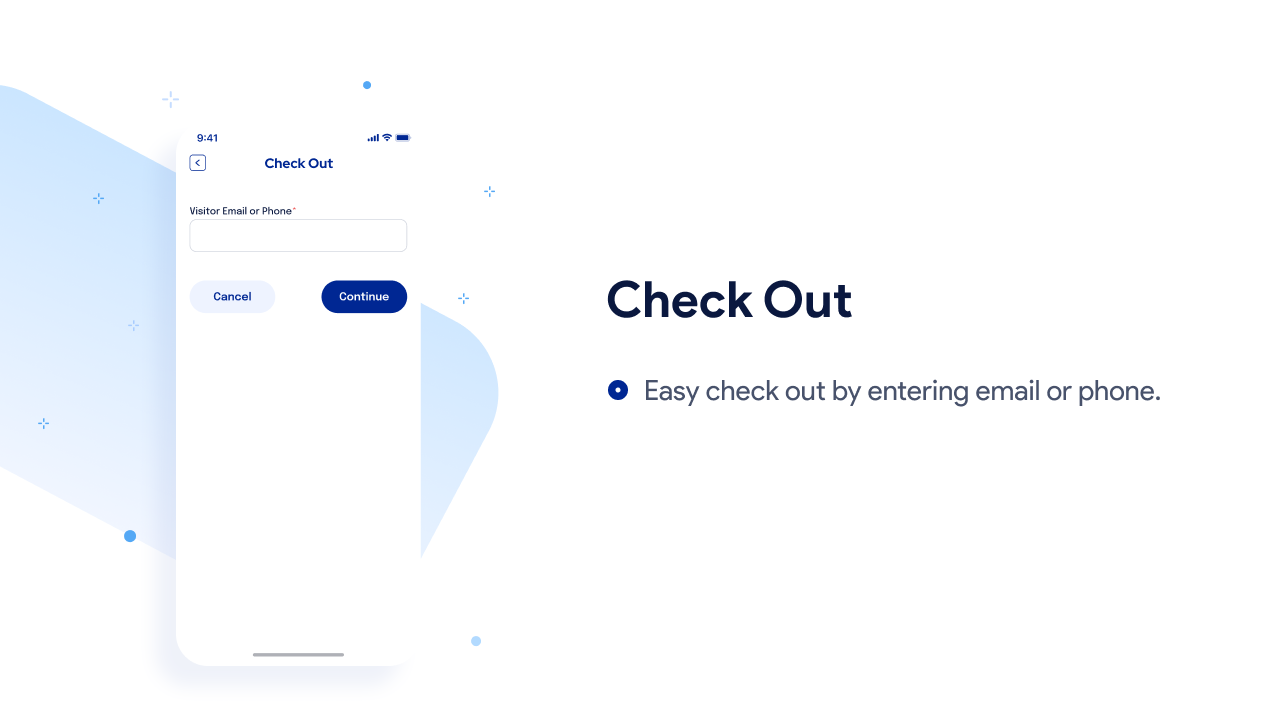
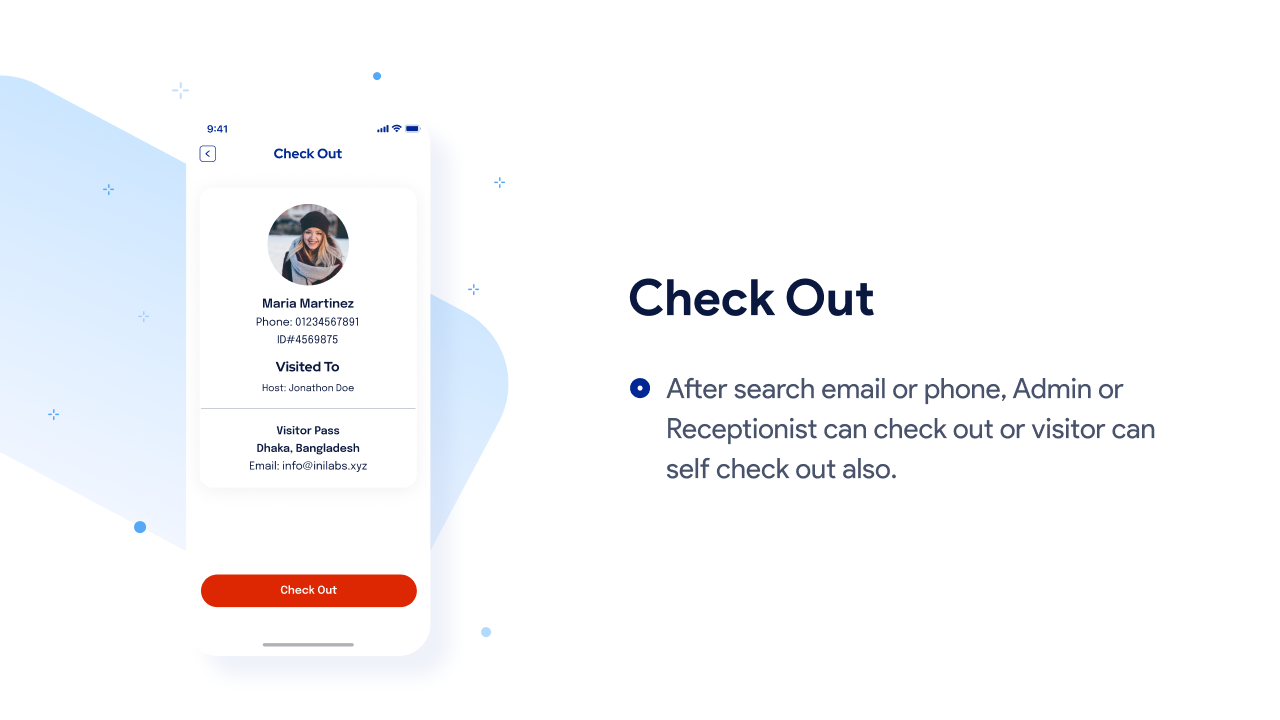
Check Out
Visitor Check-out
- Easy check-out by phone number or email
- Admin or Employee can check out a visitor and visitor also can check out himself

Take photo
Visitor ID
Take Photo

Visitor ID

Take Photo

Visitor ID

Support
If this documentation doesn't answer your questions, So, Please send us Email via Item Support Page
We are located in GMT +6:30 time zone and we answer all questions within 12-24 hours in weekdays. In some rare cases the waiting time can be to 48 hours. (except holiday seasons which might take longer).
Don’t forget to Rate this script
Go to your Codecanyon Profile > Downloads Tab > & then You can Rate & Review for our script.
Thank You.
Changelog
Version 1.9(13 May 2025)
- App latest version update (Flutter 3.29.3 dart 3.7.2)
Version 1.8(16 April 2025)
- App latest version update(flutter 3.29.2, dart 3.7.2)
- Minor bug fix.
Version 1.7 (20 February, 2025)
-Flutter app compatible with Flutter SDK 3.29.0
-Minor Bug Fixed
Version 1.6 (24 October, 2024)
-Flutter app compatible with Flutter SDK 3.24.3
-Minor Bug Fixed
Version 1.5 (27 July, 2024)
-App latest version update(flutter 3.22.2, dart 3.4.3)
-Minor Bug Fixed
Version 1.4 (10 June, 2024)
-App latest version update(flutter 3.22.1, dart 3.4.1)
-Minor Bug Fixed
Version 1.3 (12 May, 2024)
-App latest version update(flutter 3.19.6, dart 3.3.4)
-QR scanner features added
-UI Improvement
-Minor Bug Fixed
Version 1.0 (25 October, 2022)
Initial Release